What's New In The 3D Printer World
Customized Tronxy X5S Frame
The frame of the printer is the most important part, and if you get this part of build wrong everything else will go out of whack very quickly. I do not recommend printing certain part for strength and stability reasons.

The corner Brackets are used to add strength to the base and back frame
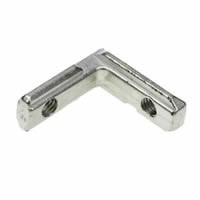
These Brackets are used to anchor the uprights of the frame to keep the printer looking clean.
These brackets will replace most of the stock screw fittings or enhance the strength of the joint.
Now to under take this section of the build you will need.
M5 12mm hex screws ( Button head look great )
M5 16mm hex screws
M5 2020 T-Nuts
M5 Nuts
Depending on how far you will Mod your printer will determine how many hex screws you will need.
I do tend to buy hex screws of all sizes and types, and keep them in stock for projects.
M5 Tap. You will be tapping the holes on the bottom front and back part of the frame when installing the feet.
A combination square (good quality one is essential as it needs to be accurate.)
We will need to print
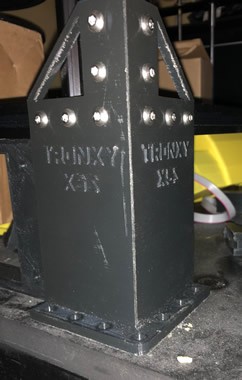
4 x Feet
4 x Left - Right panel frames.
4 x Front - Back panel frames.
2 x Stepper mounts if you are going to convert to linear rails for the Z Axis.
The Base
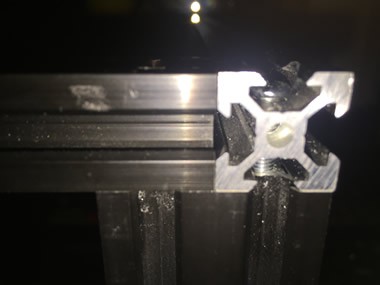
Start by locating the front and rear 2020 you are going to use for the base of the frame and run the M5 Tap through the holes on the ends of both. Also loosely install 4 hidden 2020 L brackets so they slide down the extrudes channel (There is a notch to allow this).
Using the M5 bolts and T-Nuts attach the feet to the front and back frame sections, you will notice that 4 of the holes on the feet are inline with the tapped holes on the end of the 2020 .
Now do the same for the Left and Right portion of the frame making sure the notch for the original Z Axis fixing is facing down.( if you intend to do the linear rail conversion you will not be able to use the hidden 2020 brackets here as they will foul the rails). Check everything is square.
The next thing to install is the Cabernet corner brackets in each corner As per photo below.
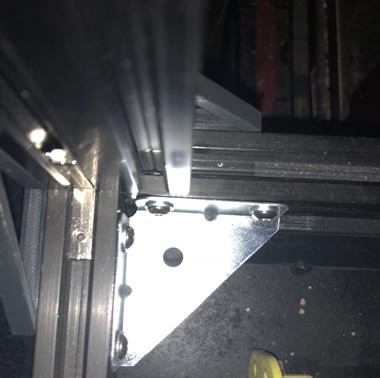
The brackets are installed like this so a base board can be inserted into the frame later. You should have a ridged and square base frame at this point, if not go round and adjust where its required. Now install the uprights on the constructed base, and the front and back 2020 using the hidden corner brackets plus the screw fixings as per original instruction manual.Also install the Y 2020 without the original gantry. If you are installing the linear rail Z axis only use the hidden corner brackets front and rear part of the frame. The sides where the Z motors are mounted will house the linear rails, and the hidden brackets will interfear.
You should have a solid square Frame.
That's it for the frame.
