What's New In The 3D Printer World
Power Supply Fan Replacement
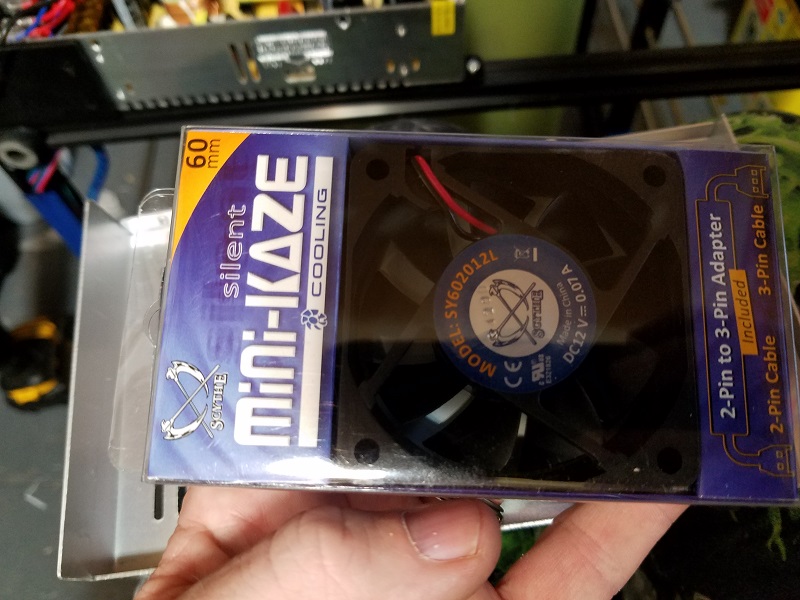
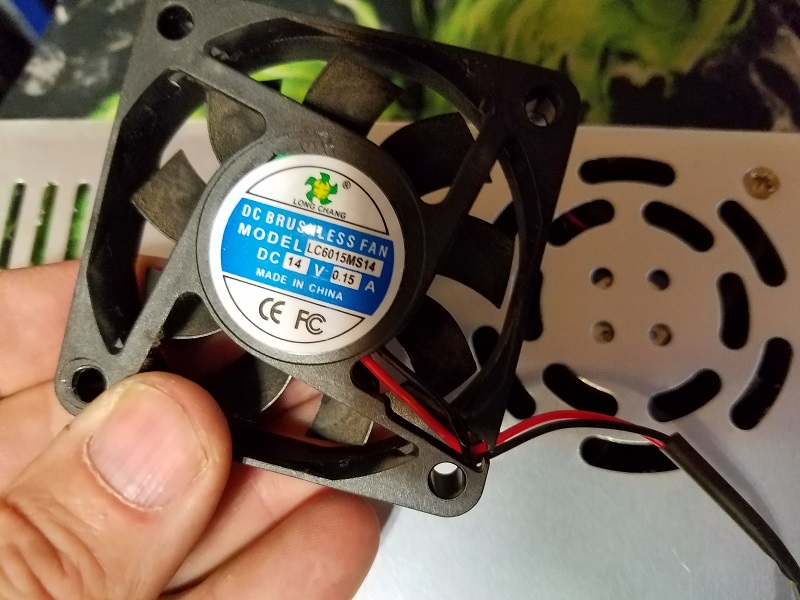
Ok So Scott here again recently I started to hear a noise coming from my power supply unit (PSU), so I decided to replace the fan with a quiet one. I choose to use a mini kaze (60mm) fan to keep it quiet as well as work well to keep the PSU cool. Normally I start by showing you tools needed but in this case all I needed was a screw driver so I’ll skip that step and add in a the normal caution to make sure the PSU is turned off and unplugged.
All the pictures in this article are of the PSU from my Tronxy X5S which matches the other PSU’s in all my other printers so it should work for most any PSU.
Please Note you are dealing with an electrical device here and there is risk of shock. Ideally you need to discharge the capacitors before working on it but leaving it connected to the control board should help limit the risk. That and use caution when working inside the PSU not to touch anything that might cause shock… when in doubt wear gloves.
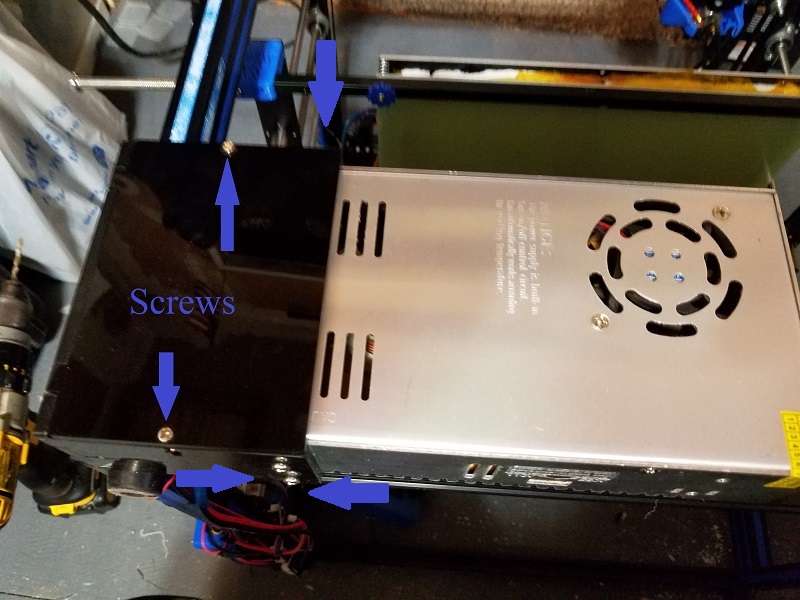
Now the first step is to make sure you can get to all the screws that hold the PSU cover on. In the case of the X5S there is an acrylic cover over the connection end so I’ll cover how to remove the needed parts of it. If you are replacing the fan from another printer you will have to figure out how to remove the cover yourself.
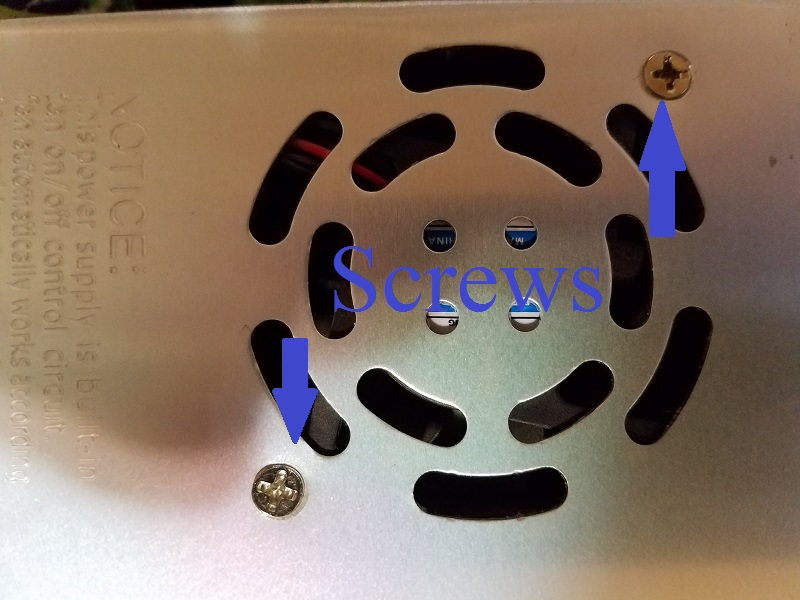
For the X5S remove the screws marked with blue arrows.

Next locate and remove the screws that hold the cover on, at this point you will need to cut the factory seal so there goes your warranty.


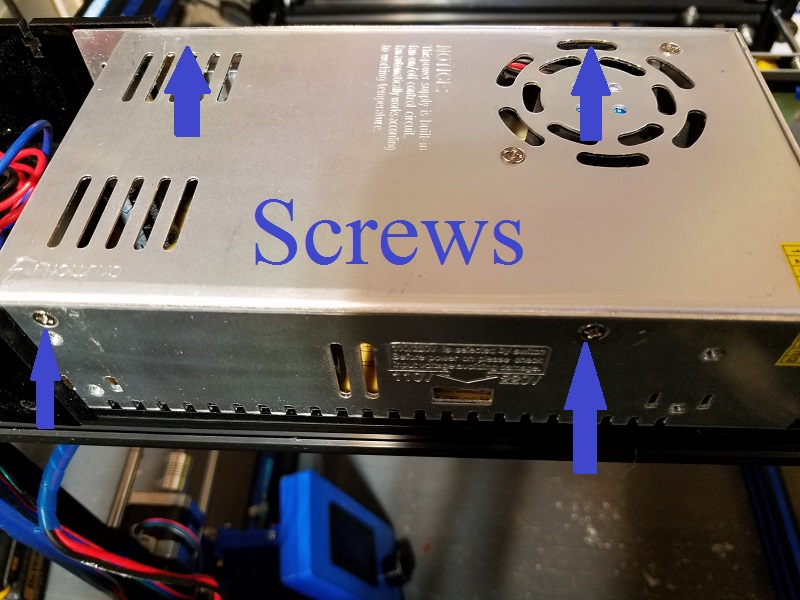
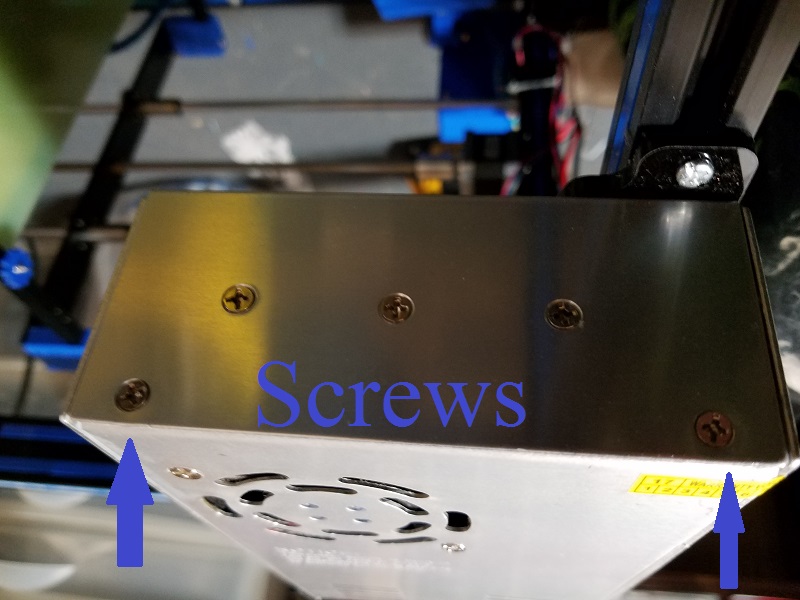
In the case of the X5S PSU there are six screws holding the top cover on and you can see the factory seal in the pictures it’s the yellow sticker over the seam. Once the six screws are removes lift the top cover off the PSU be careful of the fan cable.

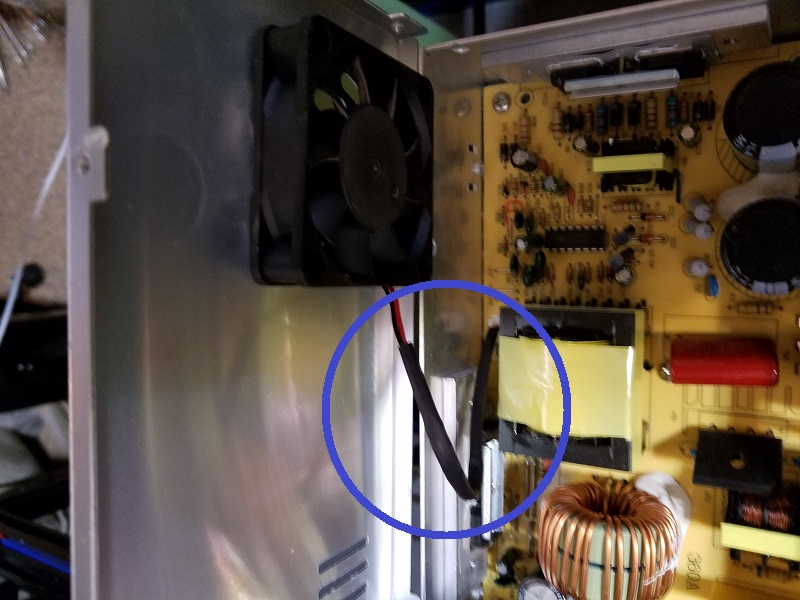
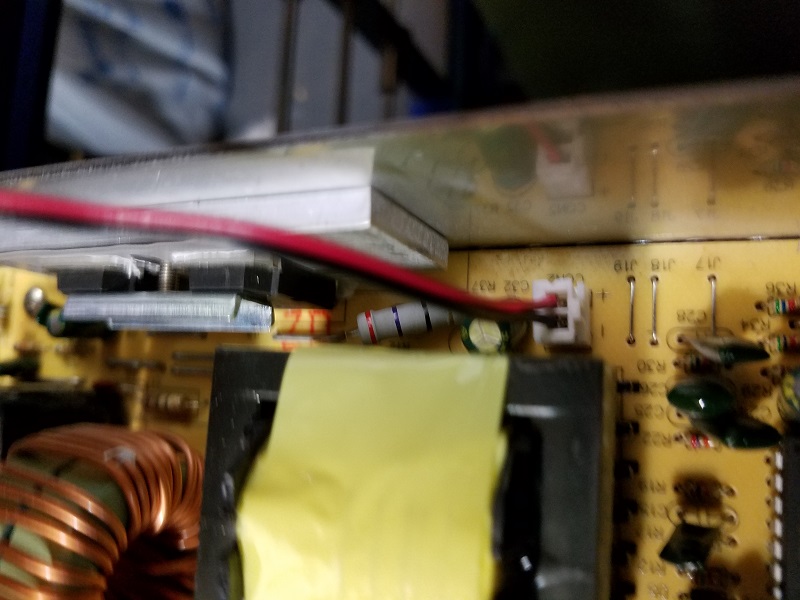
Once cover is lifted unplug the power cable to the fan take note that there are two little bumps on the plug that act like a lock so it will more than likely be hard to remove.

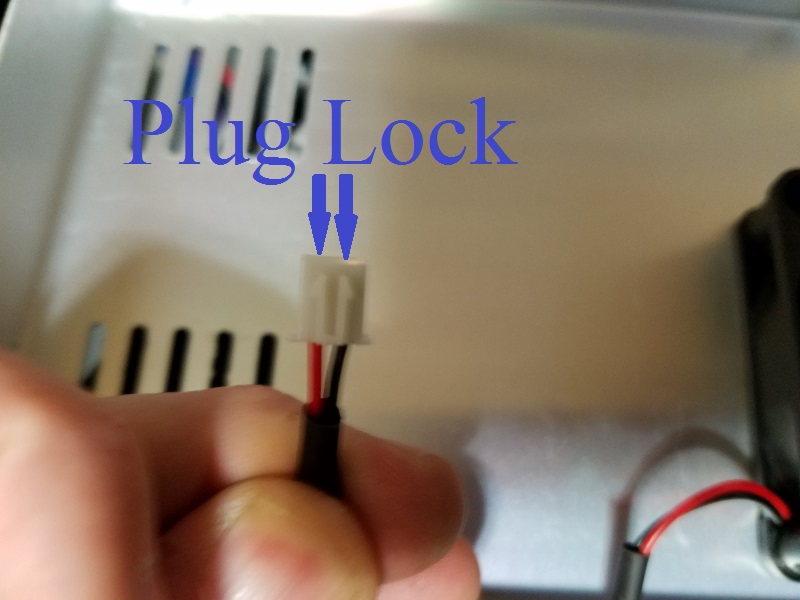
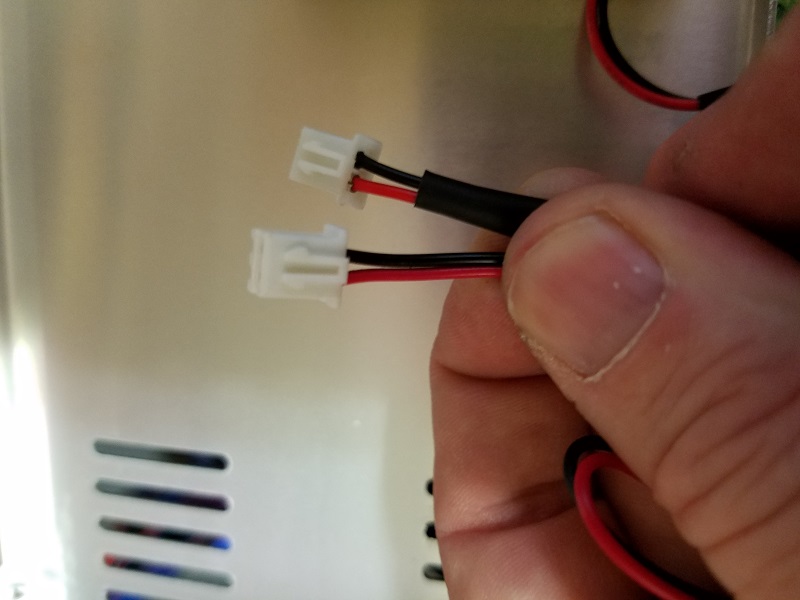
Now is the time to make sure the fan you have is correct plug or change the plug. I started with the mini kaze 60mm fan and all the PSU’s I have use the same size fan so far. When you check the plug also check that the wires are in the correct order red matches red black match black. Note in the pictures the plug locks are both facing upwards.


Once you know that the plug are correct and the fan will fit it’s time to remove the fan from the cover do this by removing the two screw (in the case of the X5S)

At this point notice that the factory fan had the sticker side against the cover on most fans (all I have had so far) the air flows from the sticker side to the other side. So make sure when you mount the new fan the sticker side goes against the cover.

Now simply put the new fan in place and replace the screws that you just took out that hold the fan to the cover. I recommend using the exact screws that held in the factory fan. Then the most important part plug the fan plug back into the circuit board.

At this point you can test it by powering up the PSU but be careful your dealing with electricity here, that or just trust you did it correct and put the cover back on. Then replace the cover over the wiring cover as well and you are done.

About the author
Related Posts
Comments 3

Just did this as my PSU fan was also starting to make a bit too much noise along with a similar 40mm fan for the control board. I also went with the mini kaze fans as the other ones I was looking at were 3 wire with adapters and didn't feel like messing with adapters. Maybe I got the wrong one, but its much thicker than the stock fan. Its a bit of a squeeze to get it back into the enclosure, but it runs so much quieter. A must for anyone who runs these where noise could be an issue. If you're careful you can even keep the warranty sticker intact, not that it matters on a $20 PSU.