What's New In The 3D Printer World
Mk7 / Mk8 HOTEND ASSEMBELY REBUILD
Ok so Scott here again lately I have been seeing a lot of post and comments about the factory Tronxy hotend so I figured I would go ahead and write up a quick tech article. While this is not the only way to rebuild or assemble the hotend assembly this is the way I do it. This also works on the E3D hotends I have but the throat is different on them. So let’s start with a few tools.
Tools:
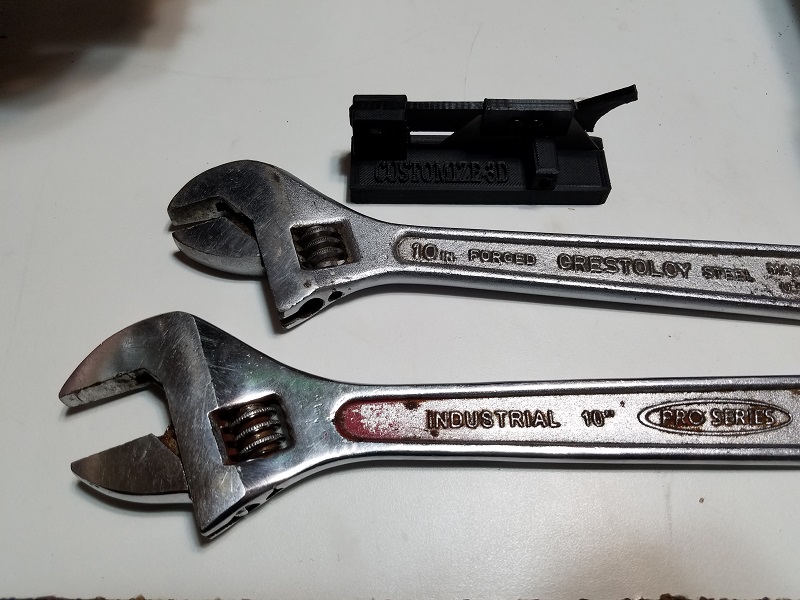
Start with a few wrenches, in this case I use 2 adjustable wrenches because it’s simpler than using a bunch of other wrenches. I also use a Bowden tube cutter but a razor will work just not easy to get a straight cut but more on that later. The Bowden tube cutter used in this article is one I designed and can be found here Now you might need an allen wrench as well but more on that later.

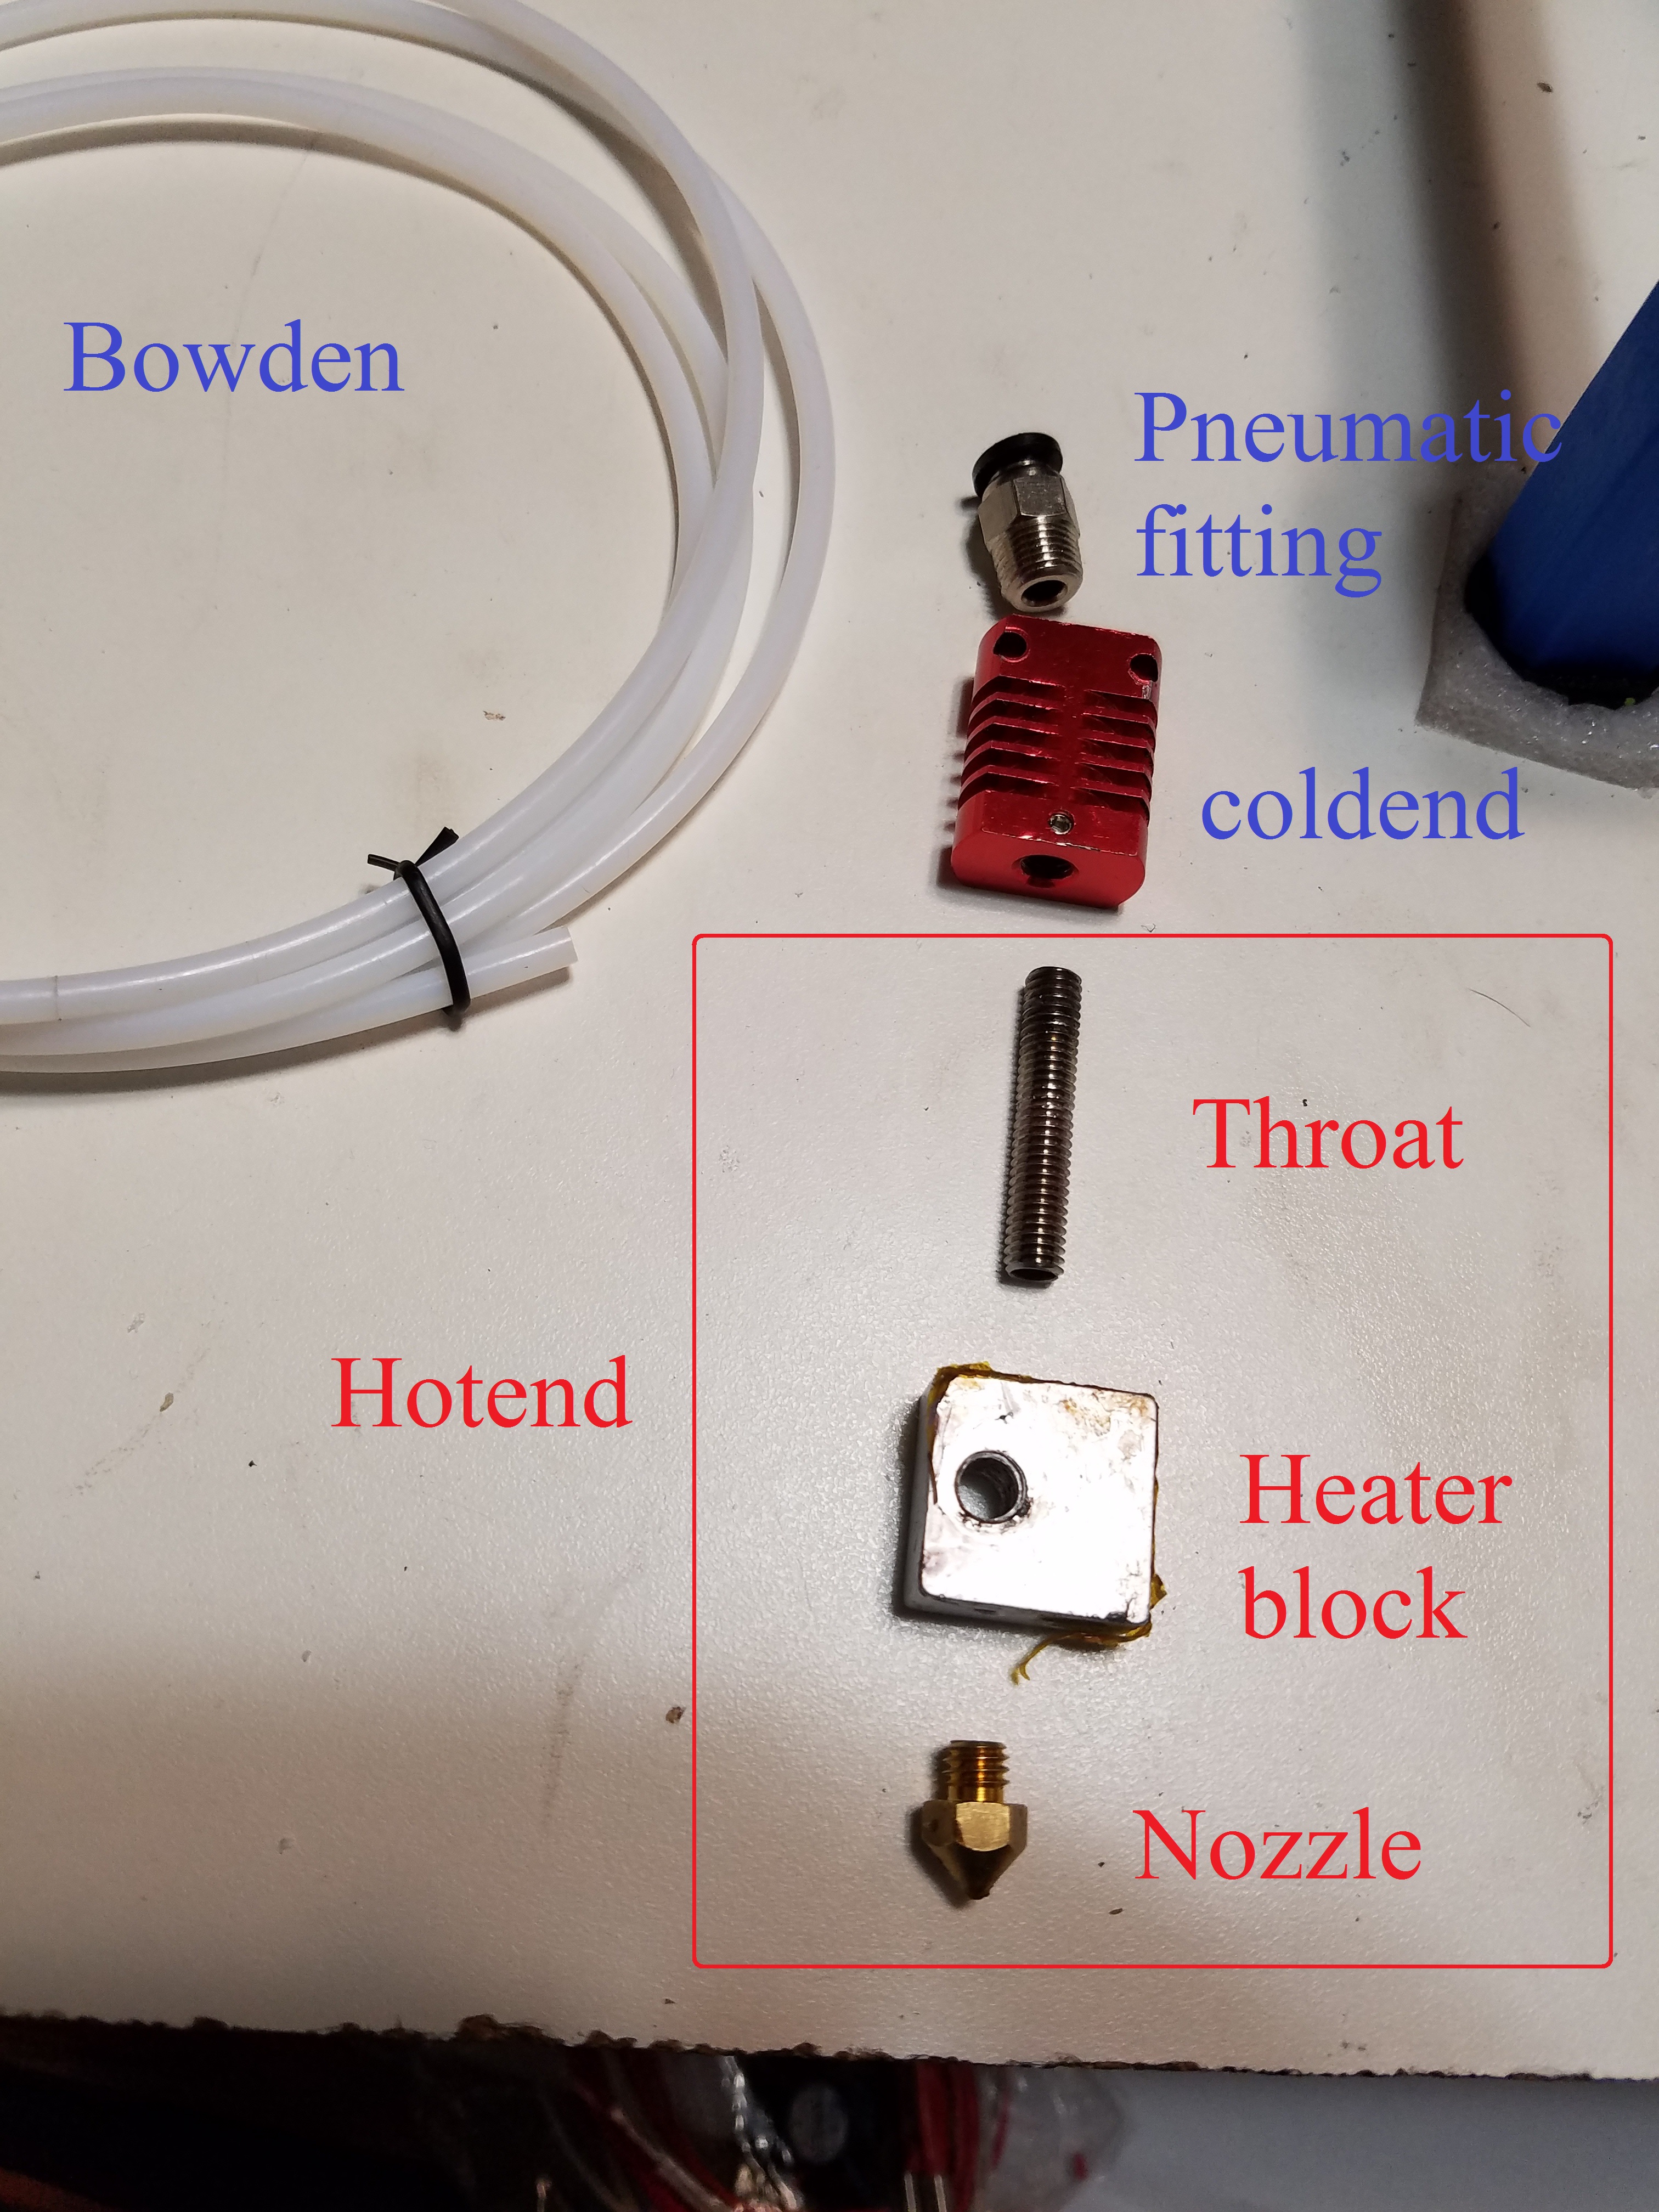
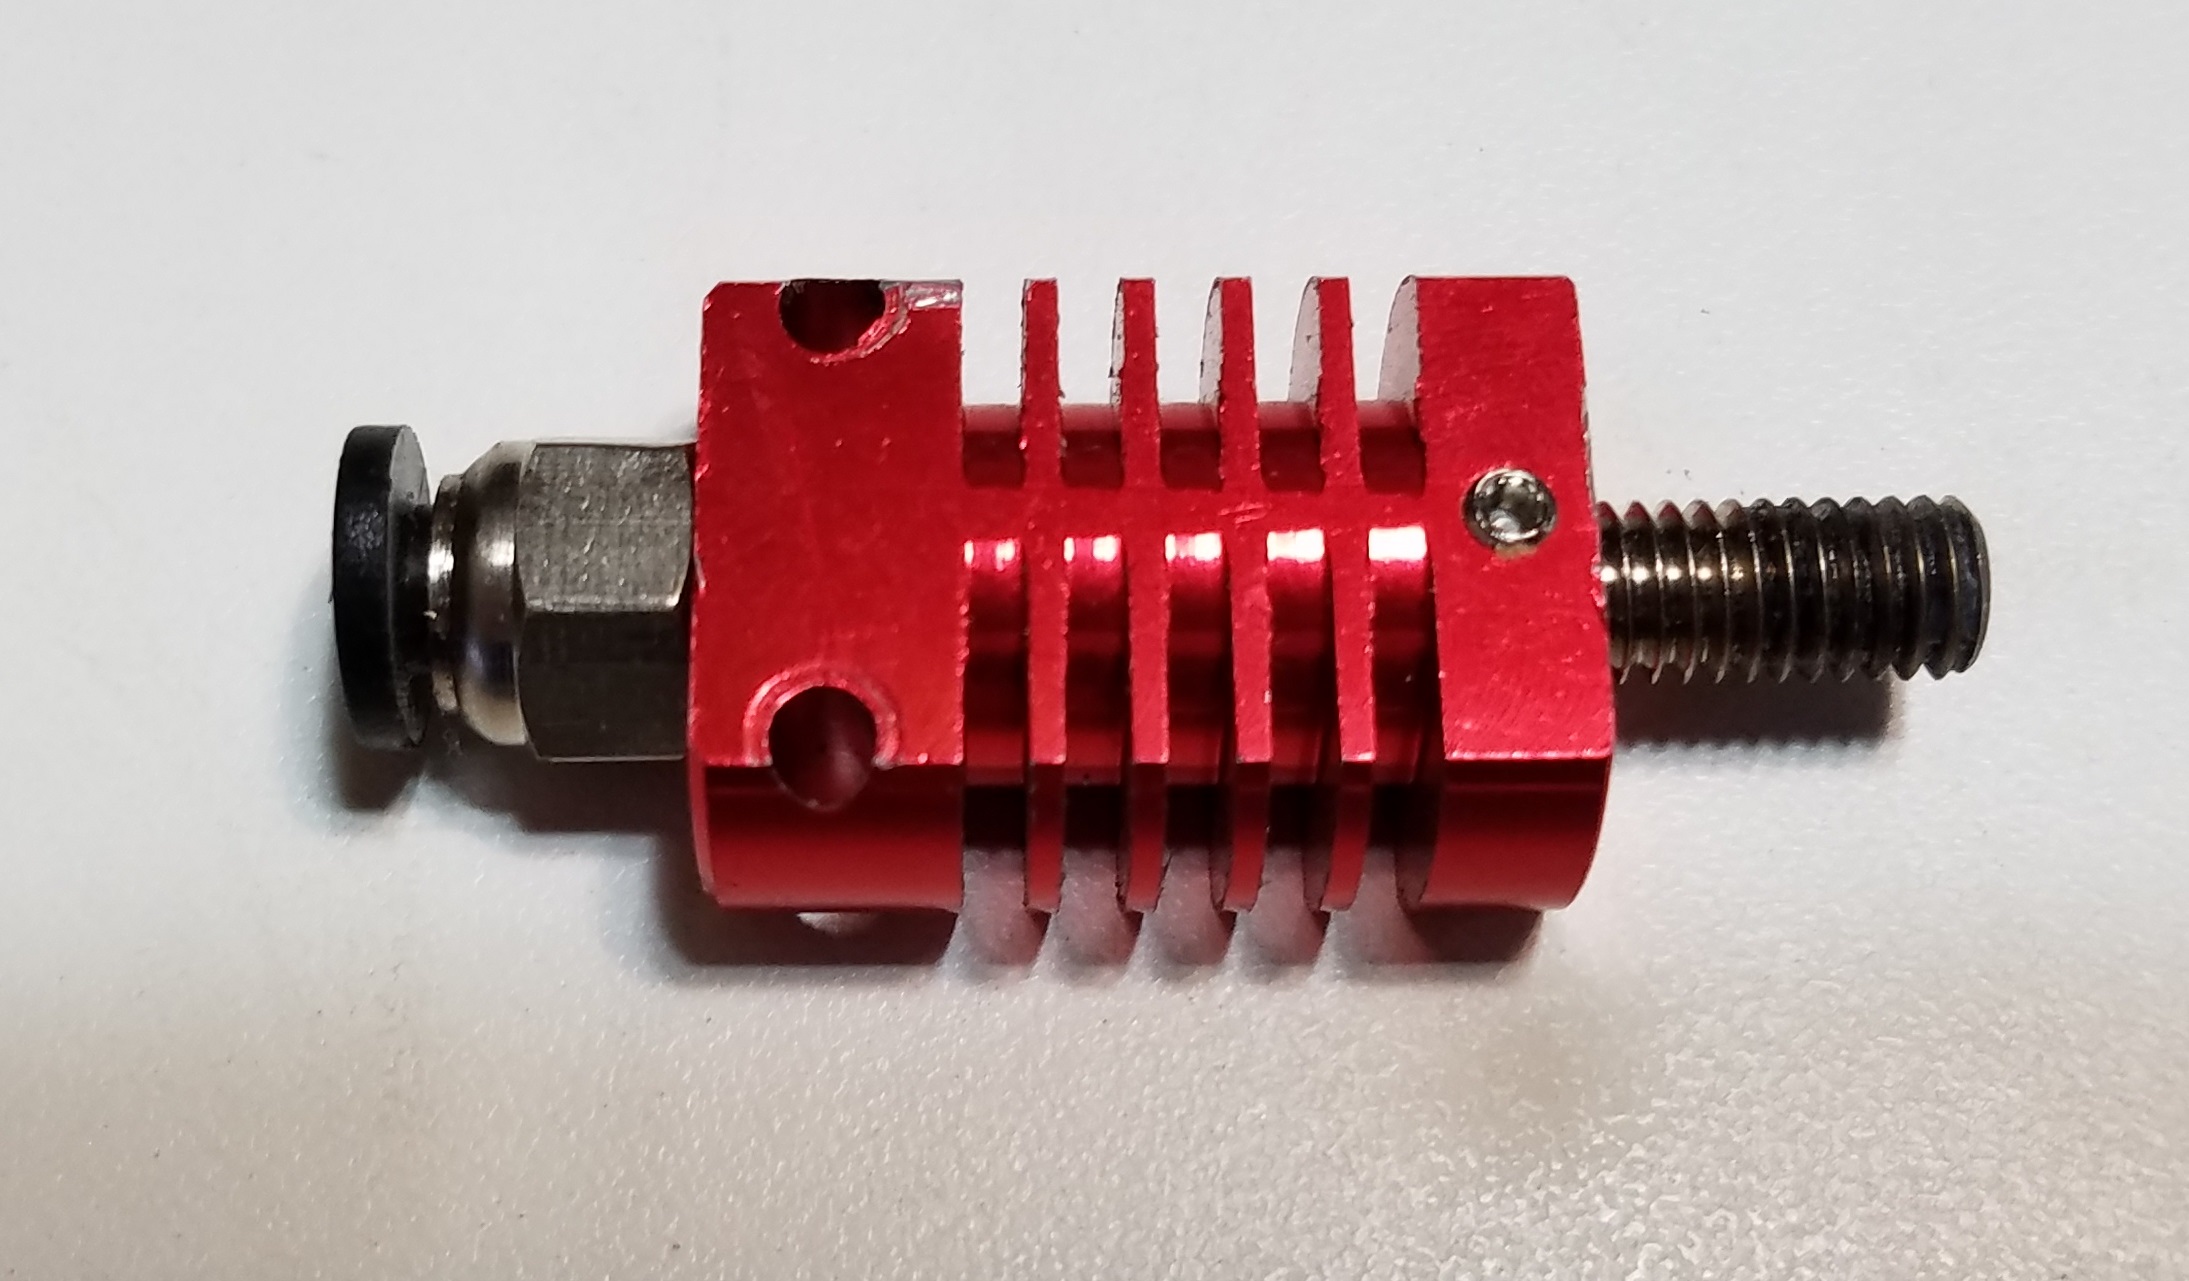
So now that the tools are covered let’s move on to the hotend assembly itself. For this article I’m going to go over the MK8 hotend that Tronxy and other manufactures use but this is the same as a lot of other hotends as well and the parts are all the same. So now on to the parts.
Bowden tube: controls the movement of filament from the extruder to the hotend assembly.
Pneumatic fitting: holds the Bowden tube in place
Coldend: keeps the heat away from the filament and Bowden tube.
Throat: connects the heat block to the hotend...... Please note that the troat is very thin and easy to break so be careful with it.
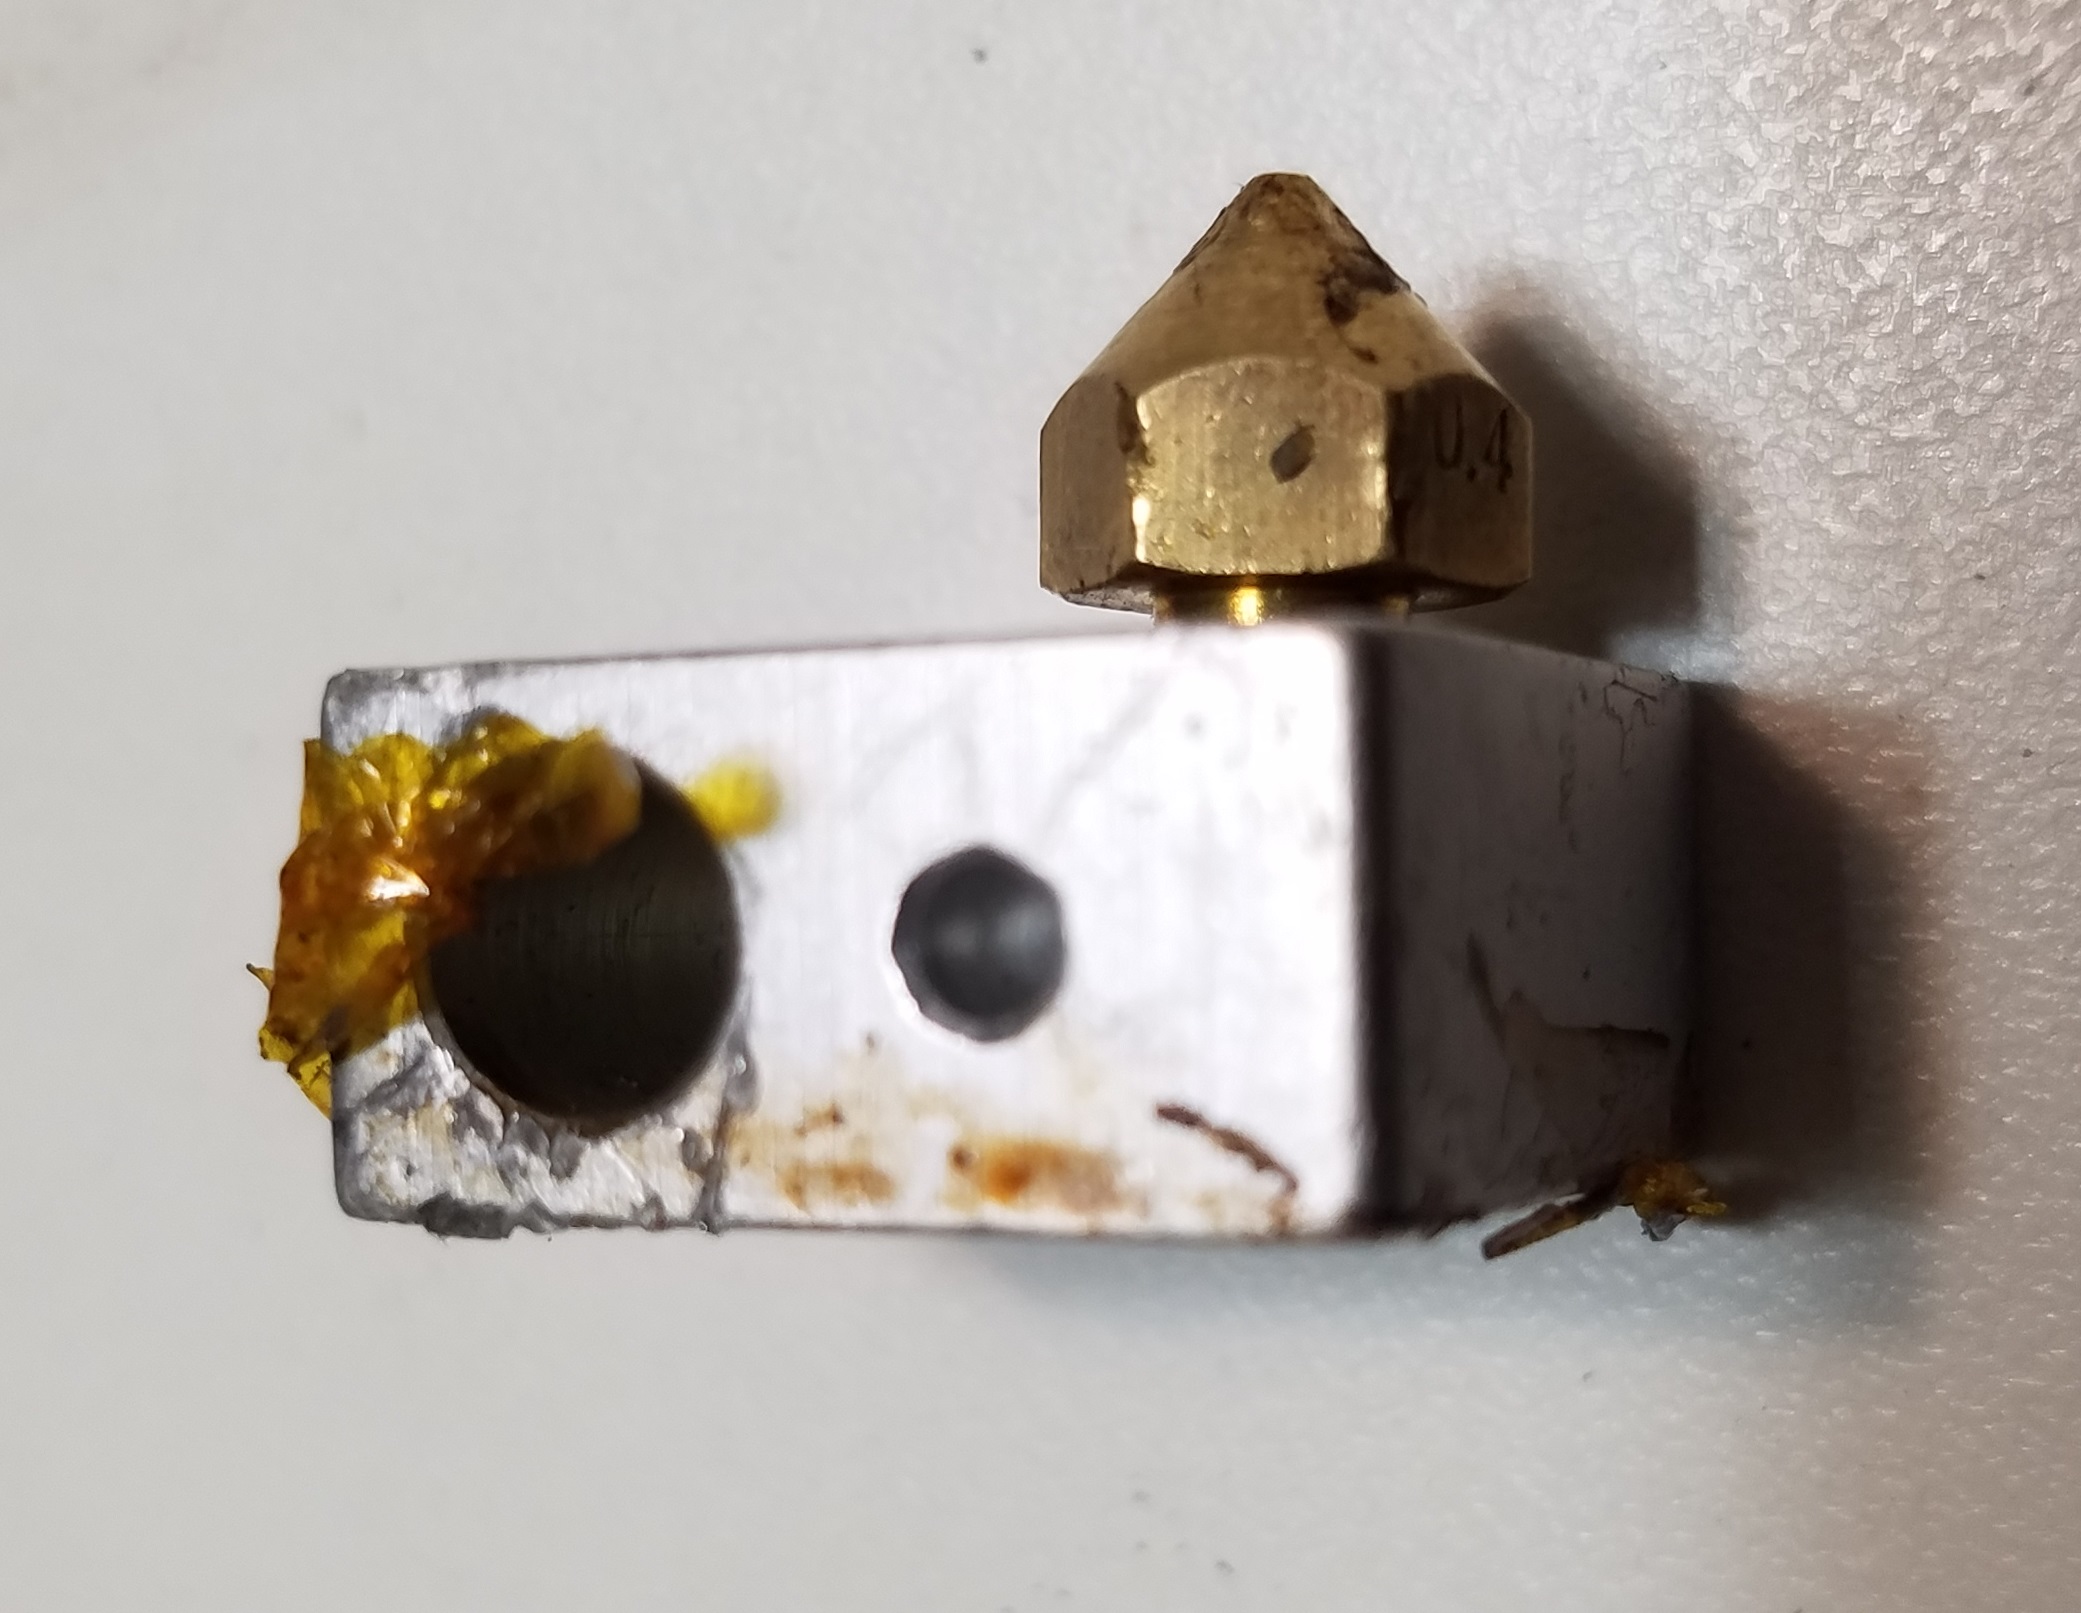
Heater Block: where the thermistor and heating element go to make the system work.
Nozzle: the end result most of us know


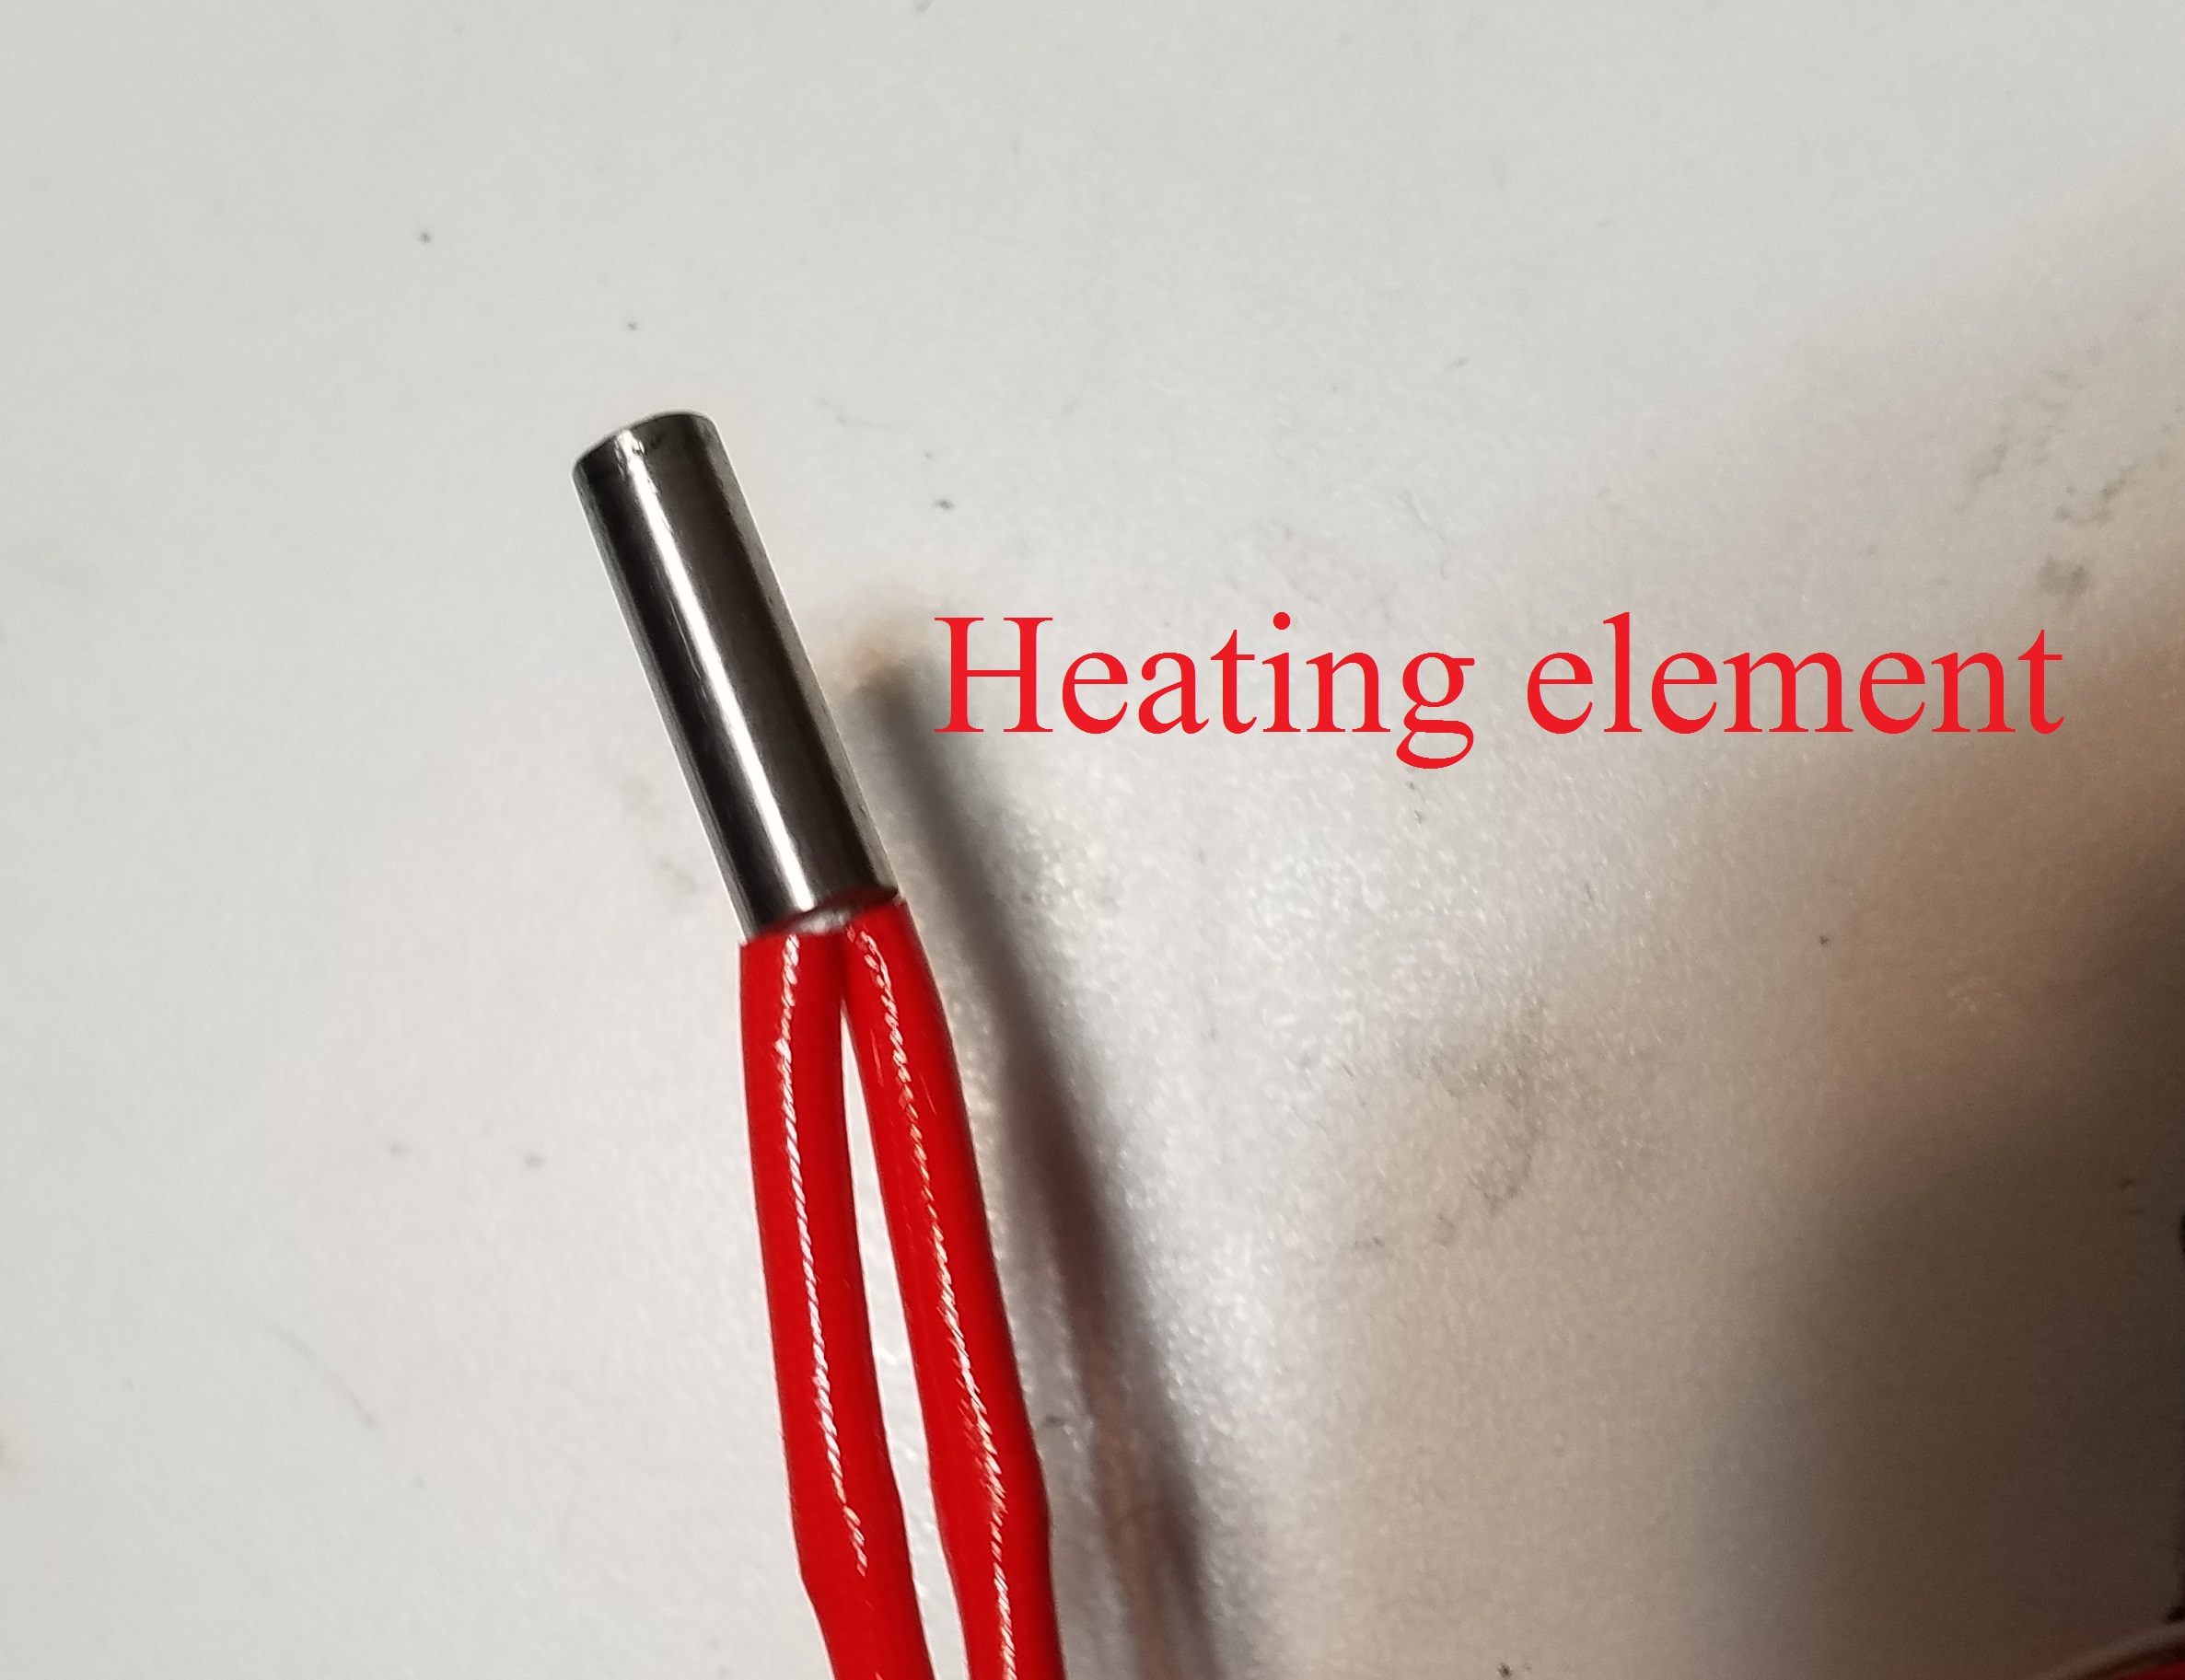
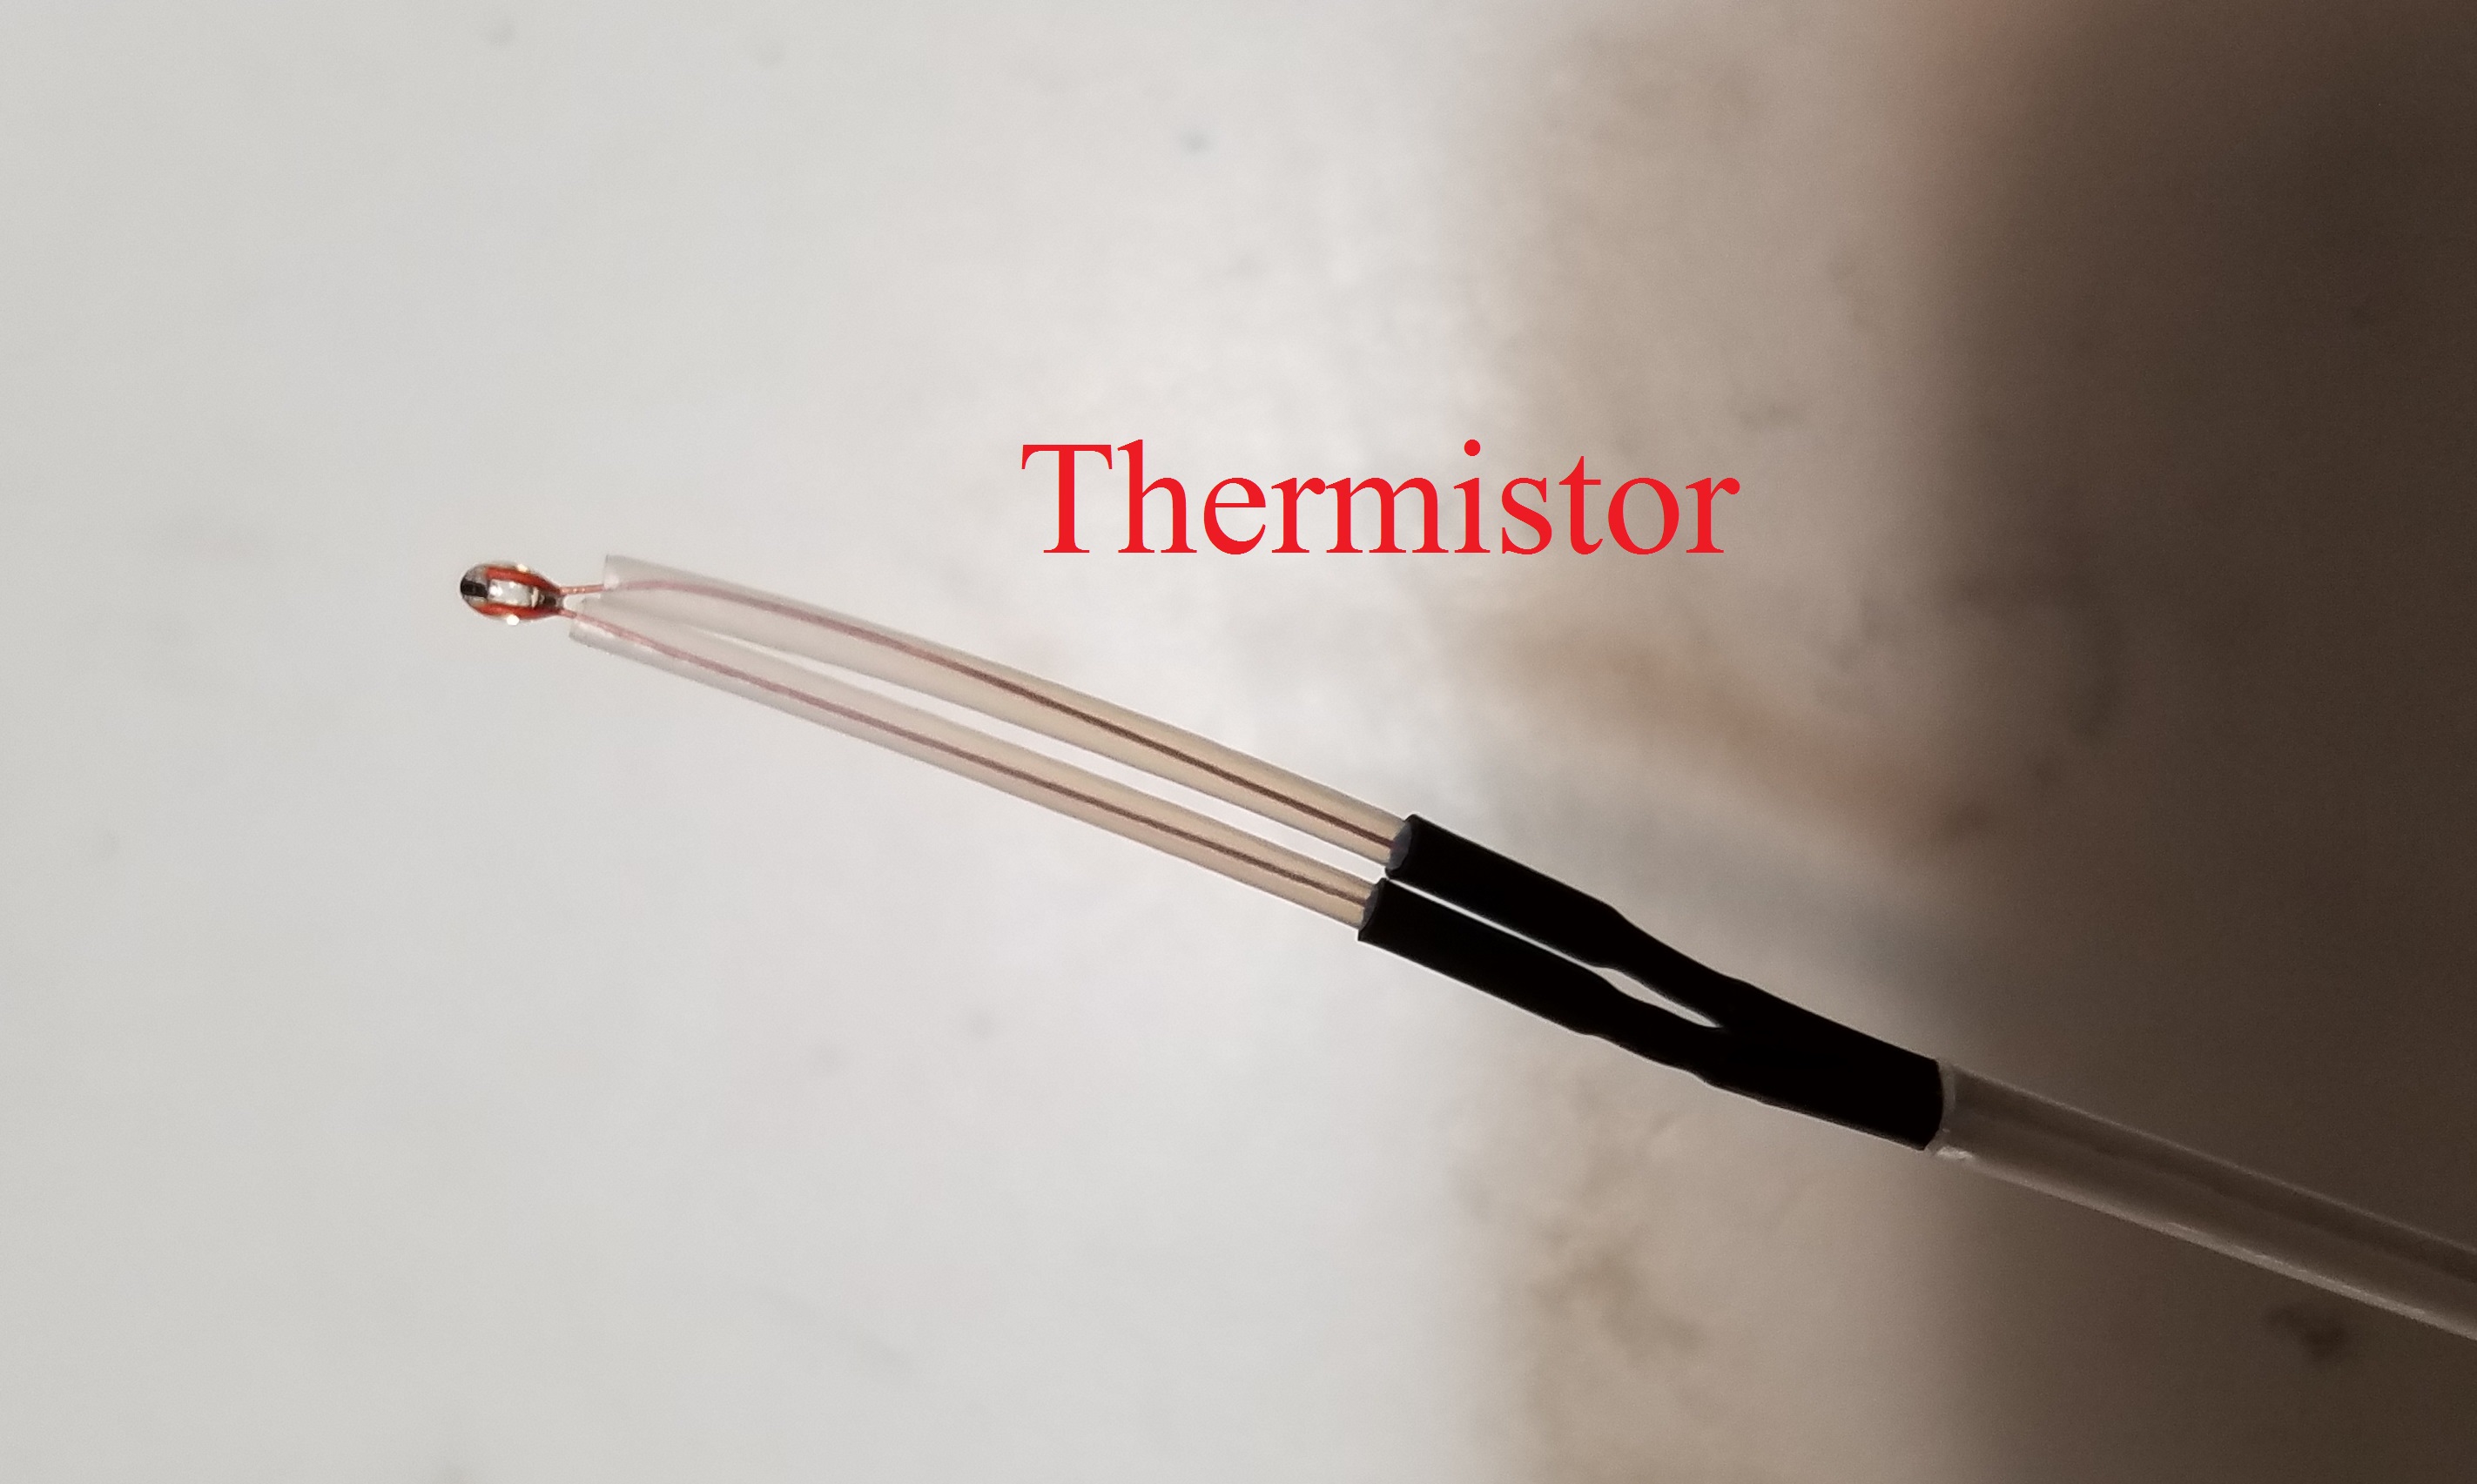
OK so now that we have the basics down let’s move on to what the article is about. Start by taking the assembly off the printer and apart. Now if you have used the nozzle before you will need to heat the hotend before removing the nozzle. Loosen the bolt that holds the heating element in the heater block to remove the heating element; the heating element can be left on the printer. Loosen the bolt that holds the thermistor in place and remove the thermistor as well, leave it on the printer as well. Once the hotend assembly is off the printer time to take it apart completely. It’s important to note that there is a set screw on the coldend that could be tight and locking the throat in place. Make sure you at least check it as it needs to be loose, this is where the allen wrench comes in to play.
If you have a problem removing the throat from the coldend I suggest you do the fallowing , comepletely remove the set screw, then put the heat block back on the tighten the nozzle down while holding the heat blcok this acts as a locknut securing the throat in the heat block then I would heat up the coldend with a heatgun or stove or even the heating element (but the heating element and thermistor back in to do this) then with it still warm to hot try holding the coldend and heater block ind turning then to remove the throat.....CAREFUL as the throat is weak.... If this does not work I would recommend leaving it in place to avoid breaking it or damaging the threads but you can use pliers or the likes to grab the throat buy there is a high risk of damaging or breaking the throat.


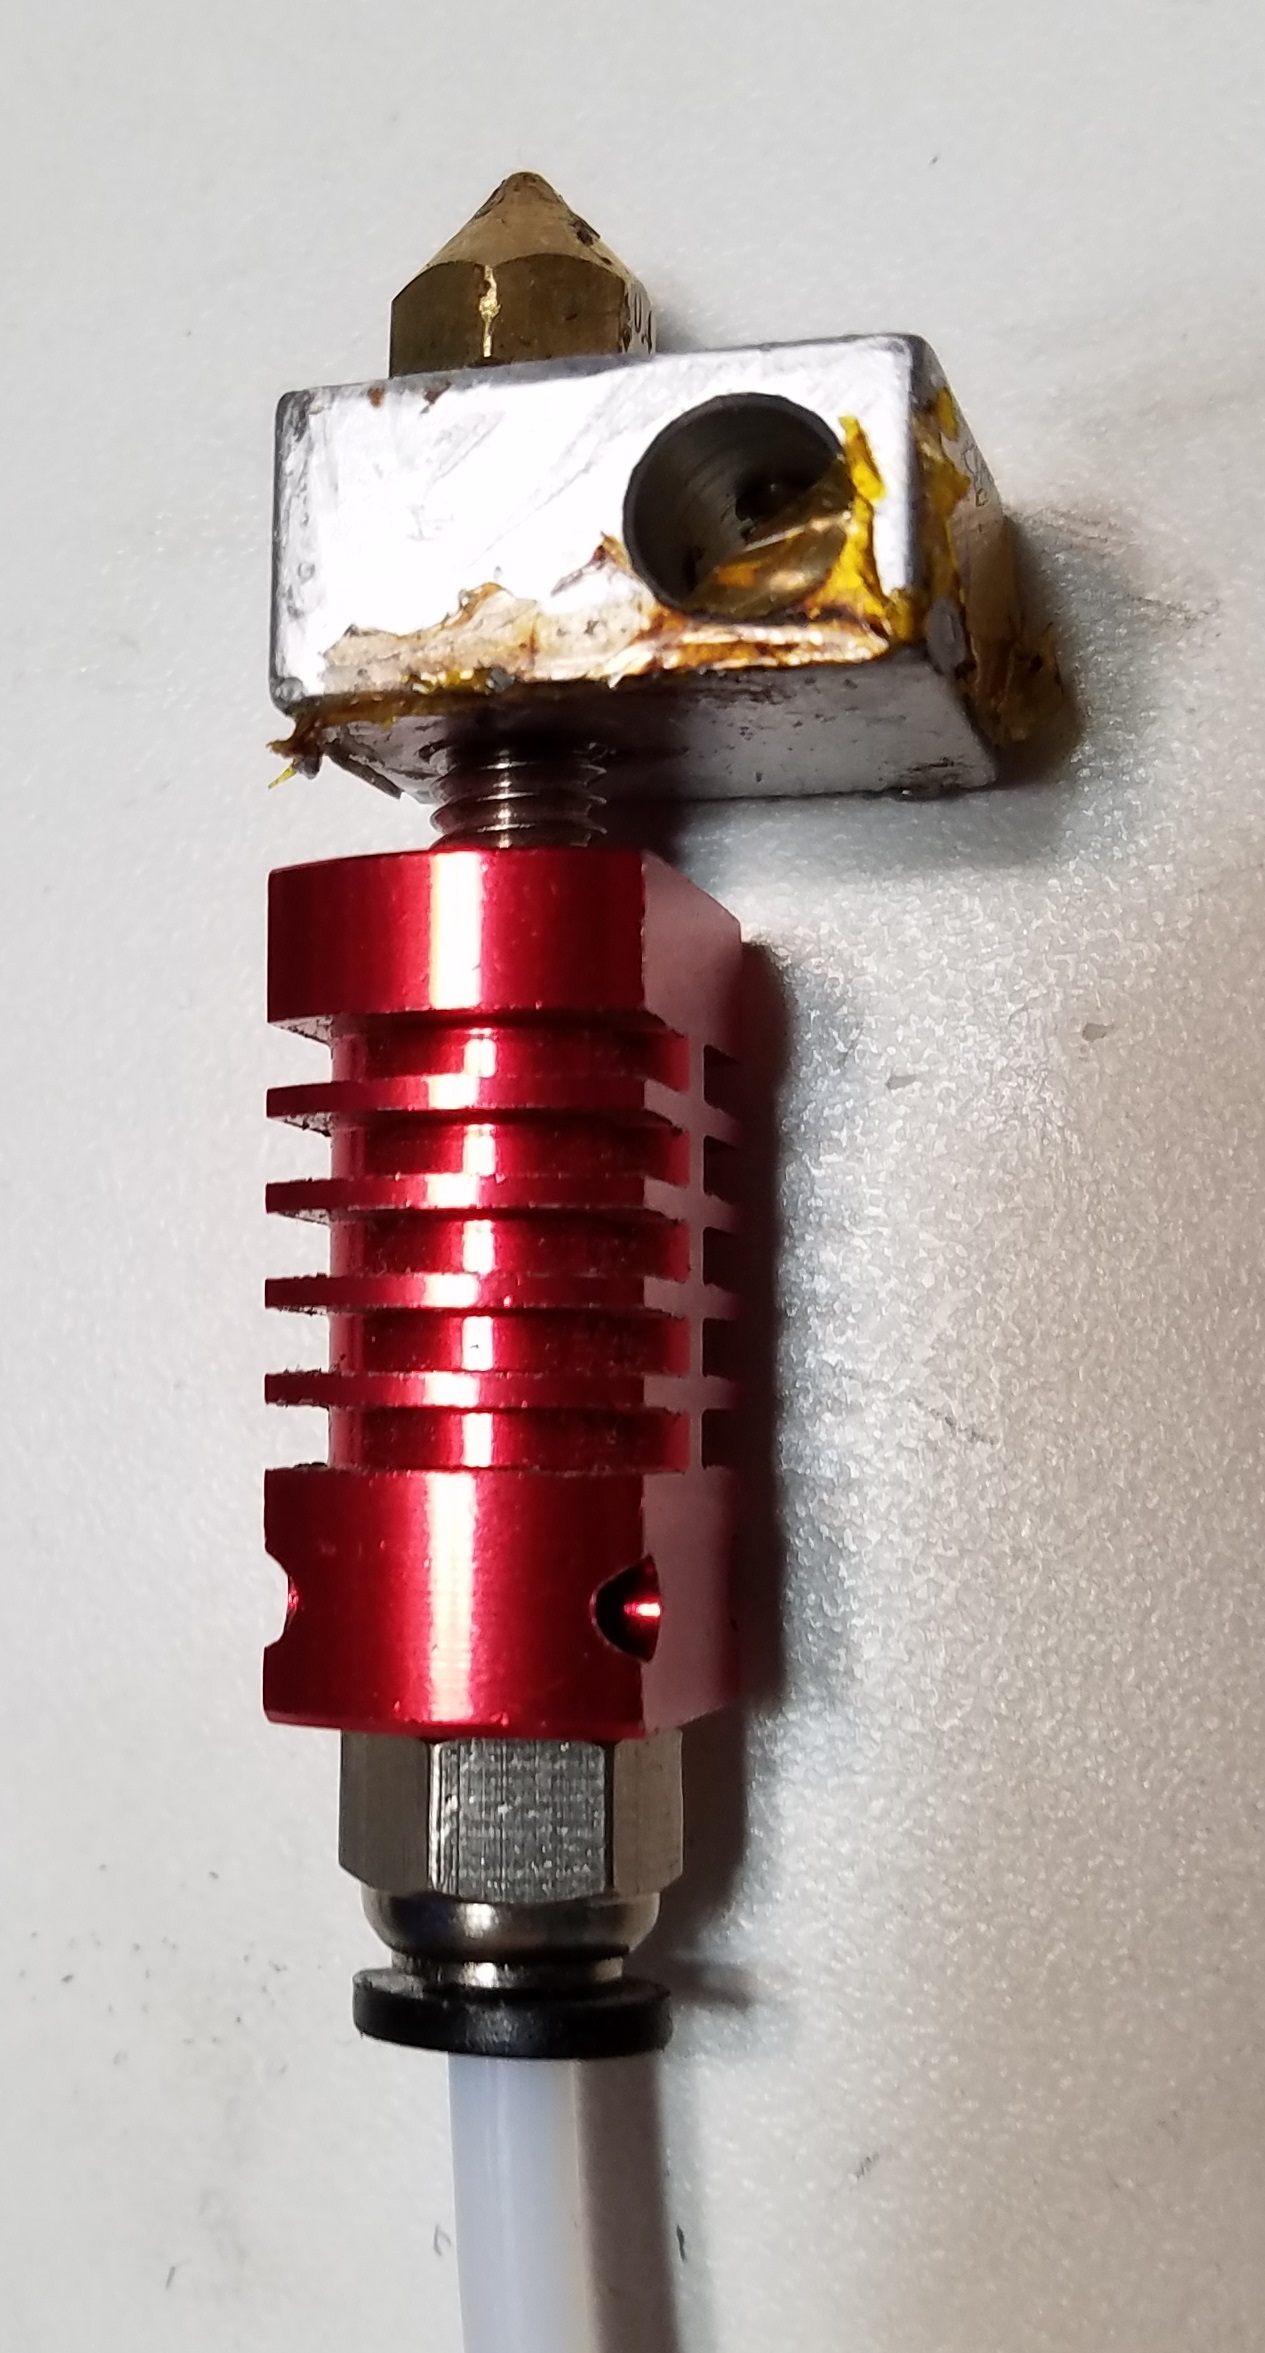
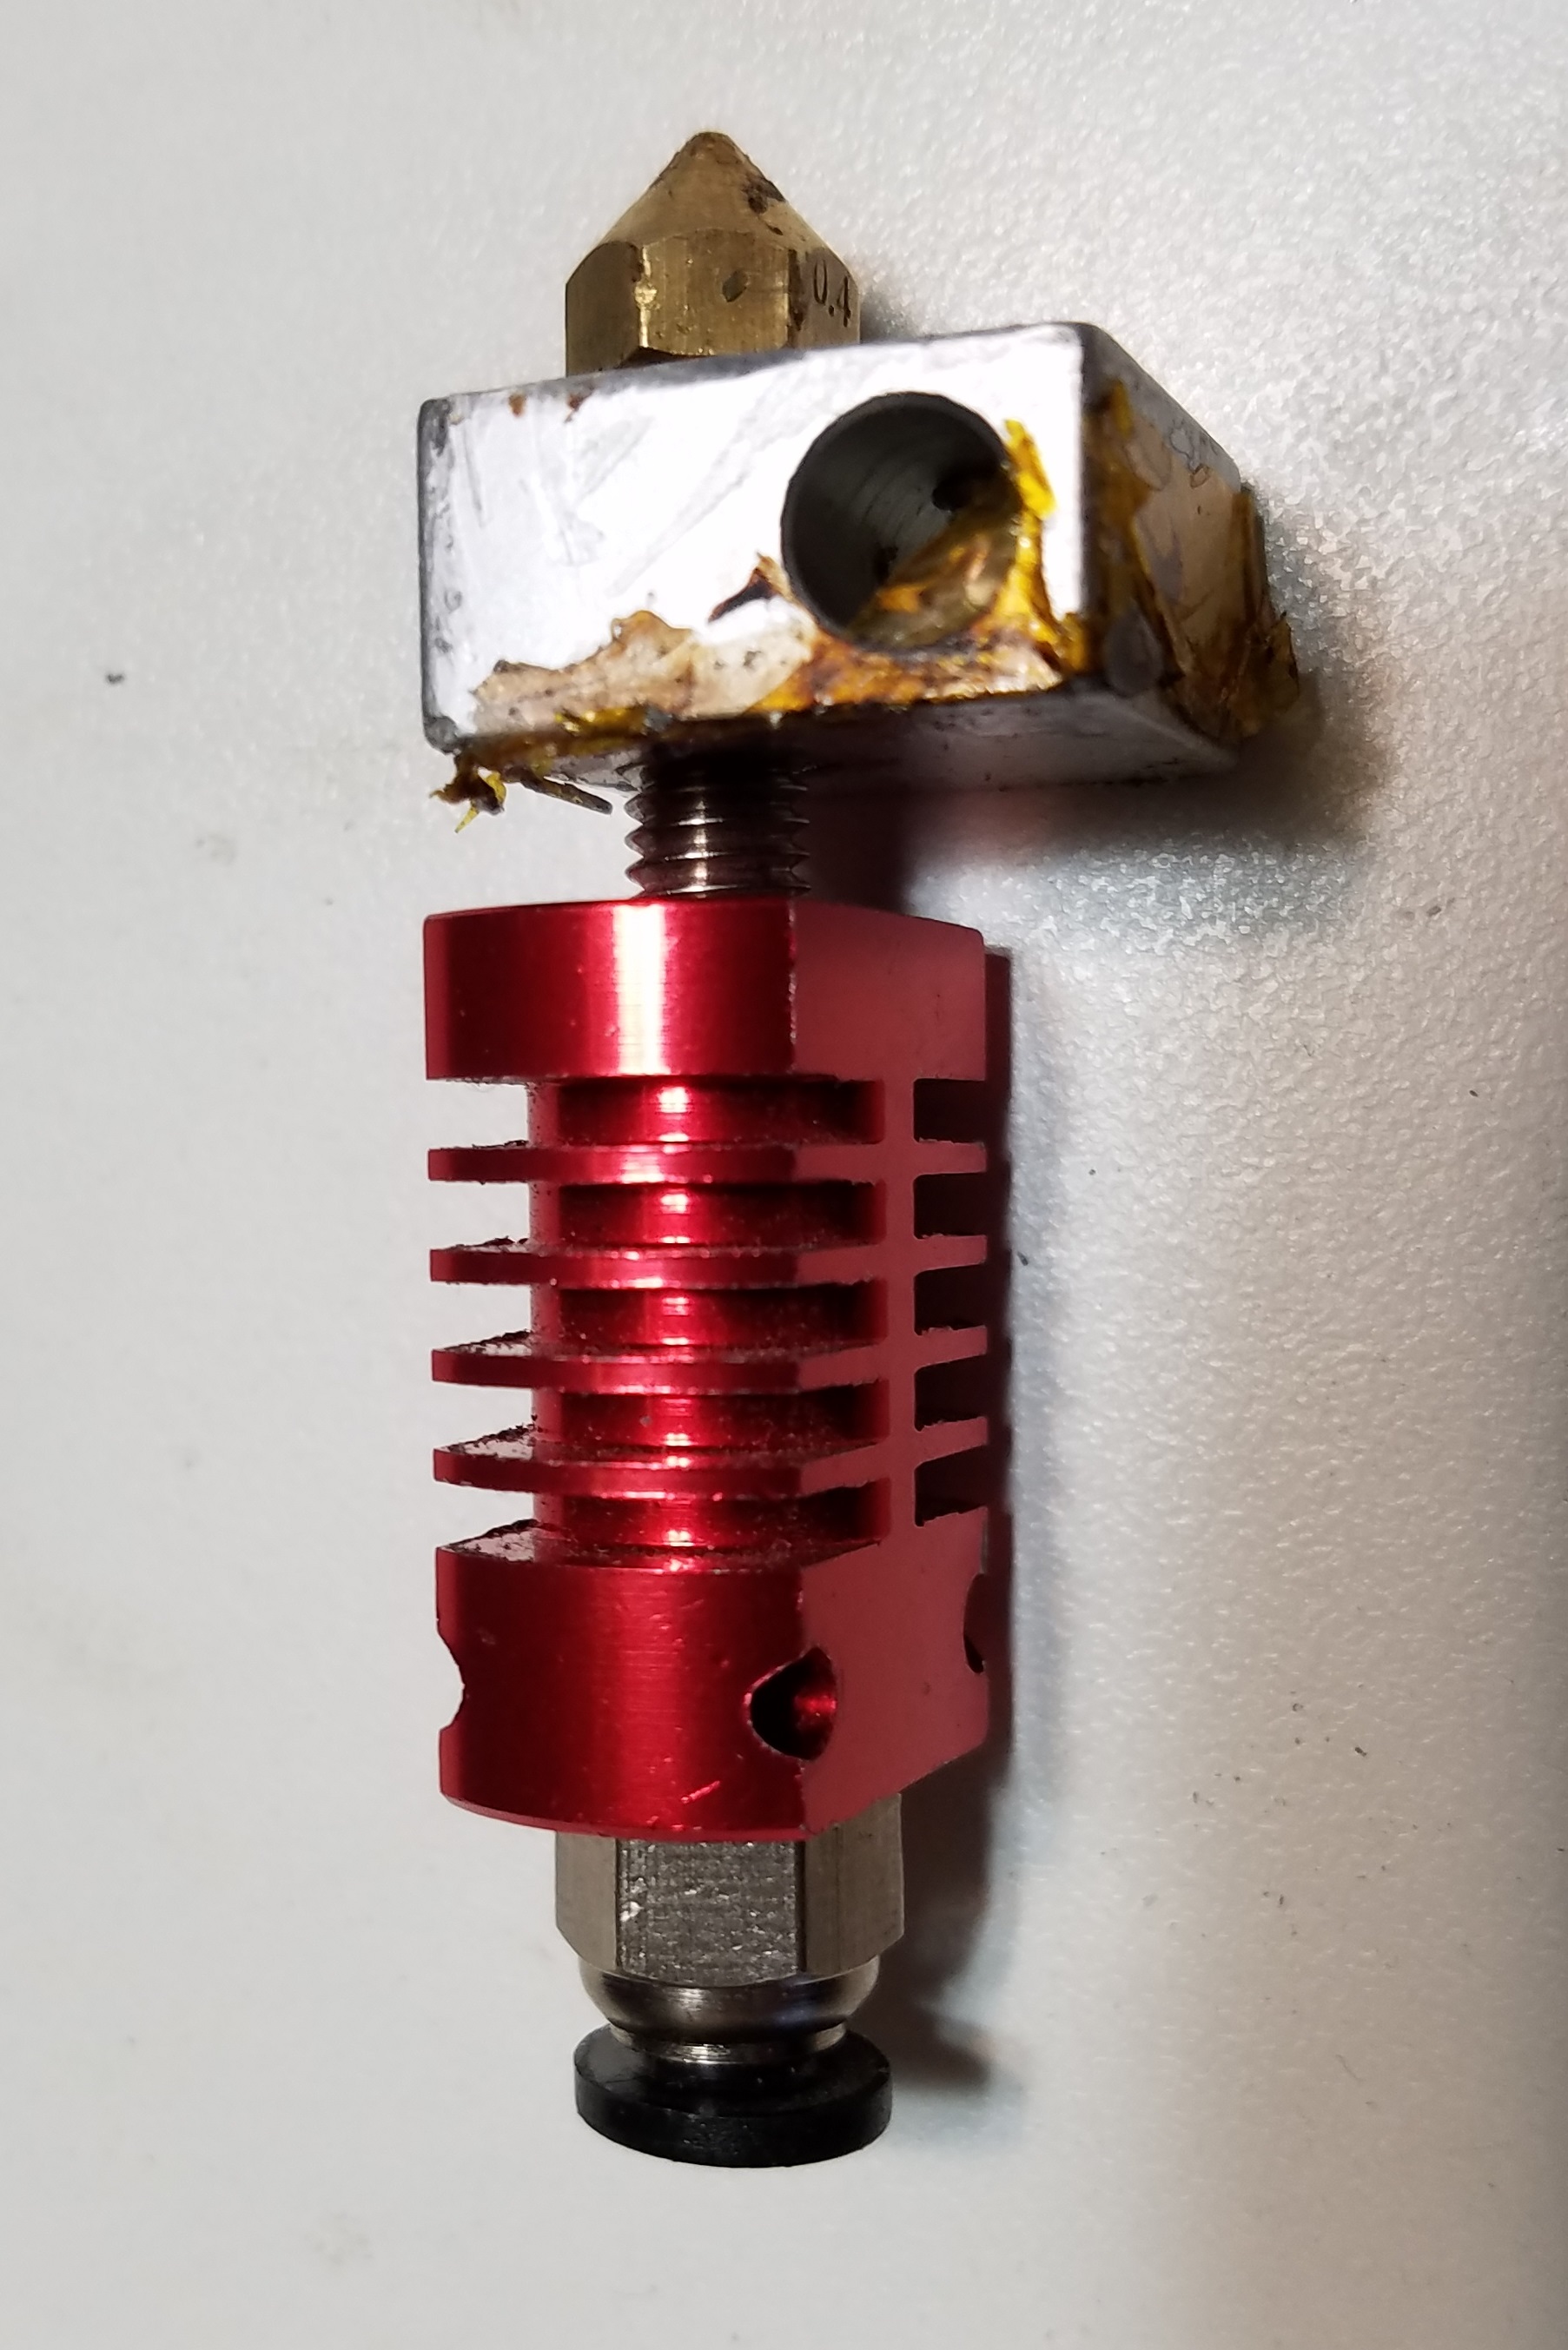
So once everything is apart like the first picture it’s time to start checking for issues.
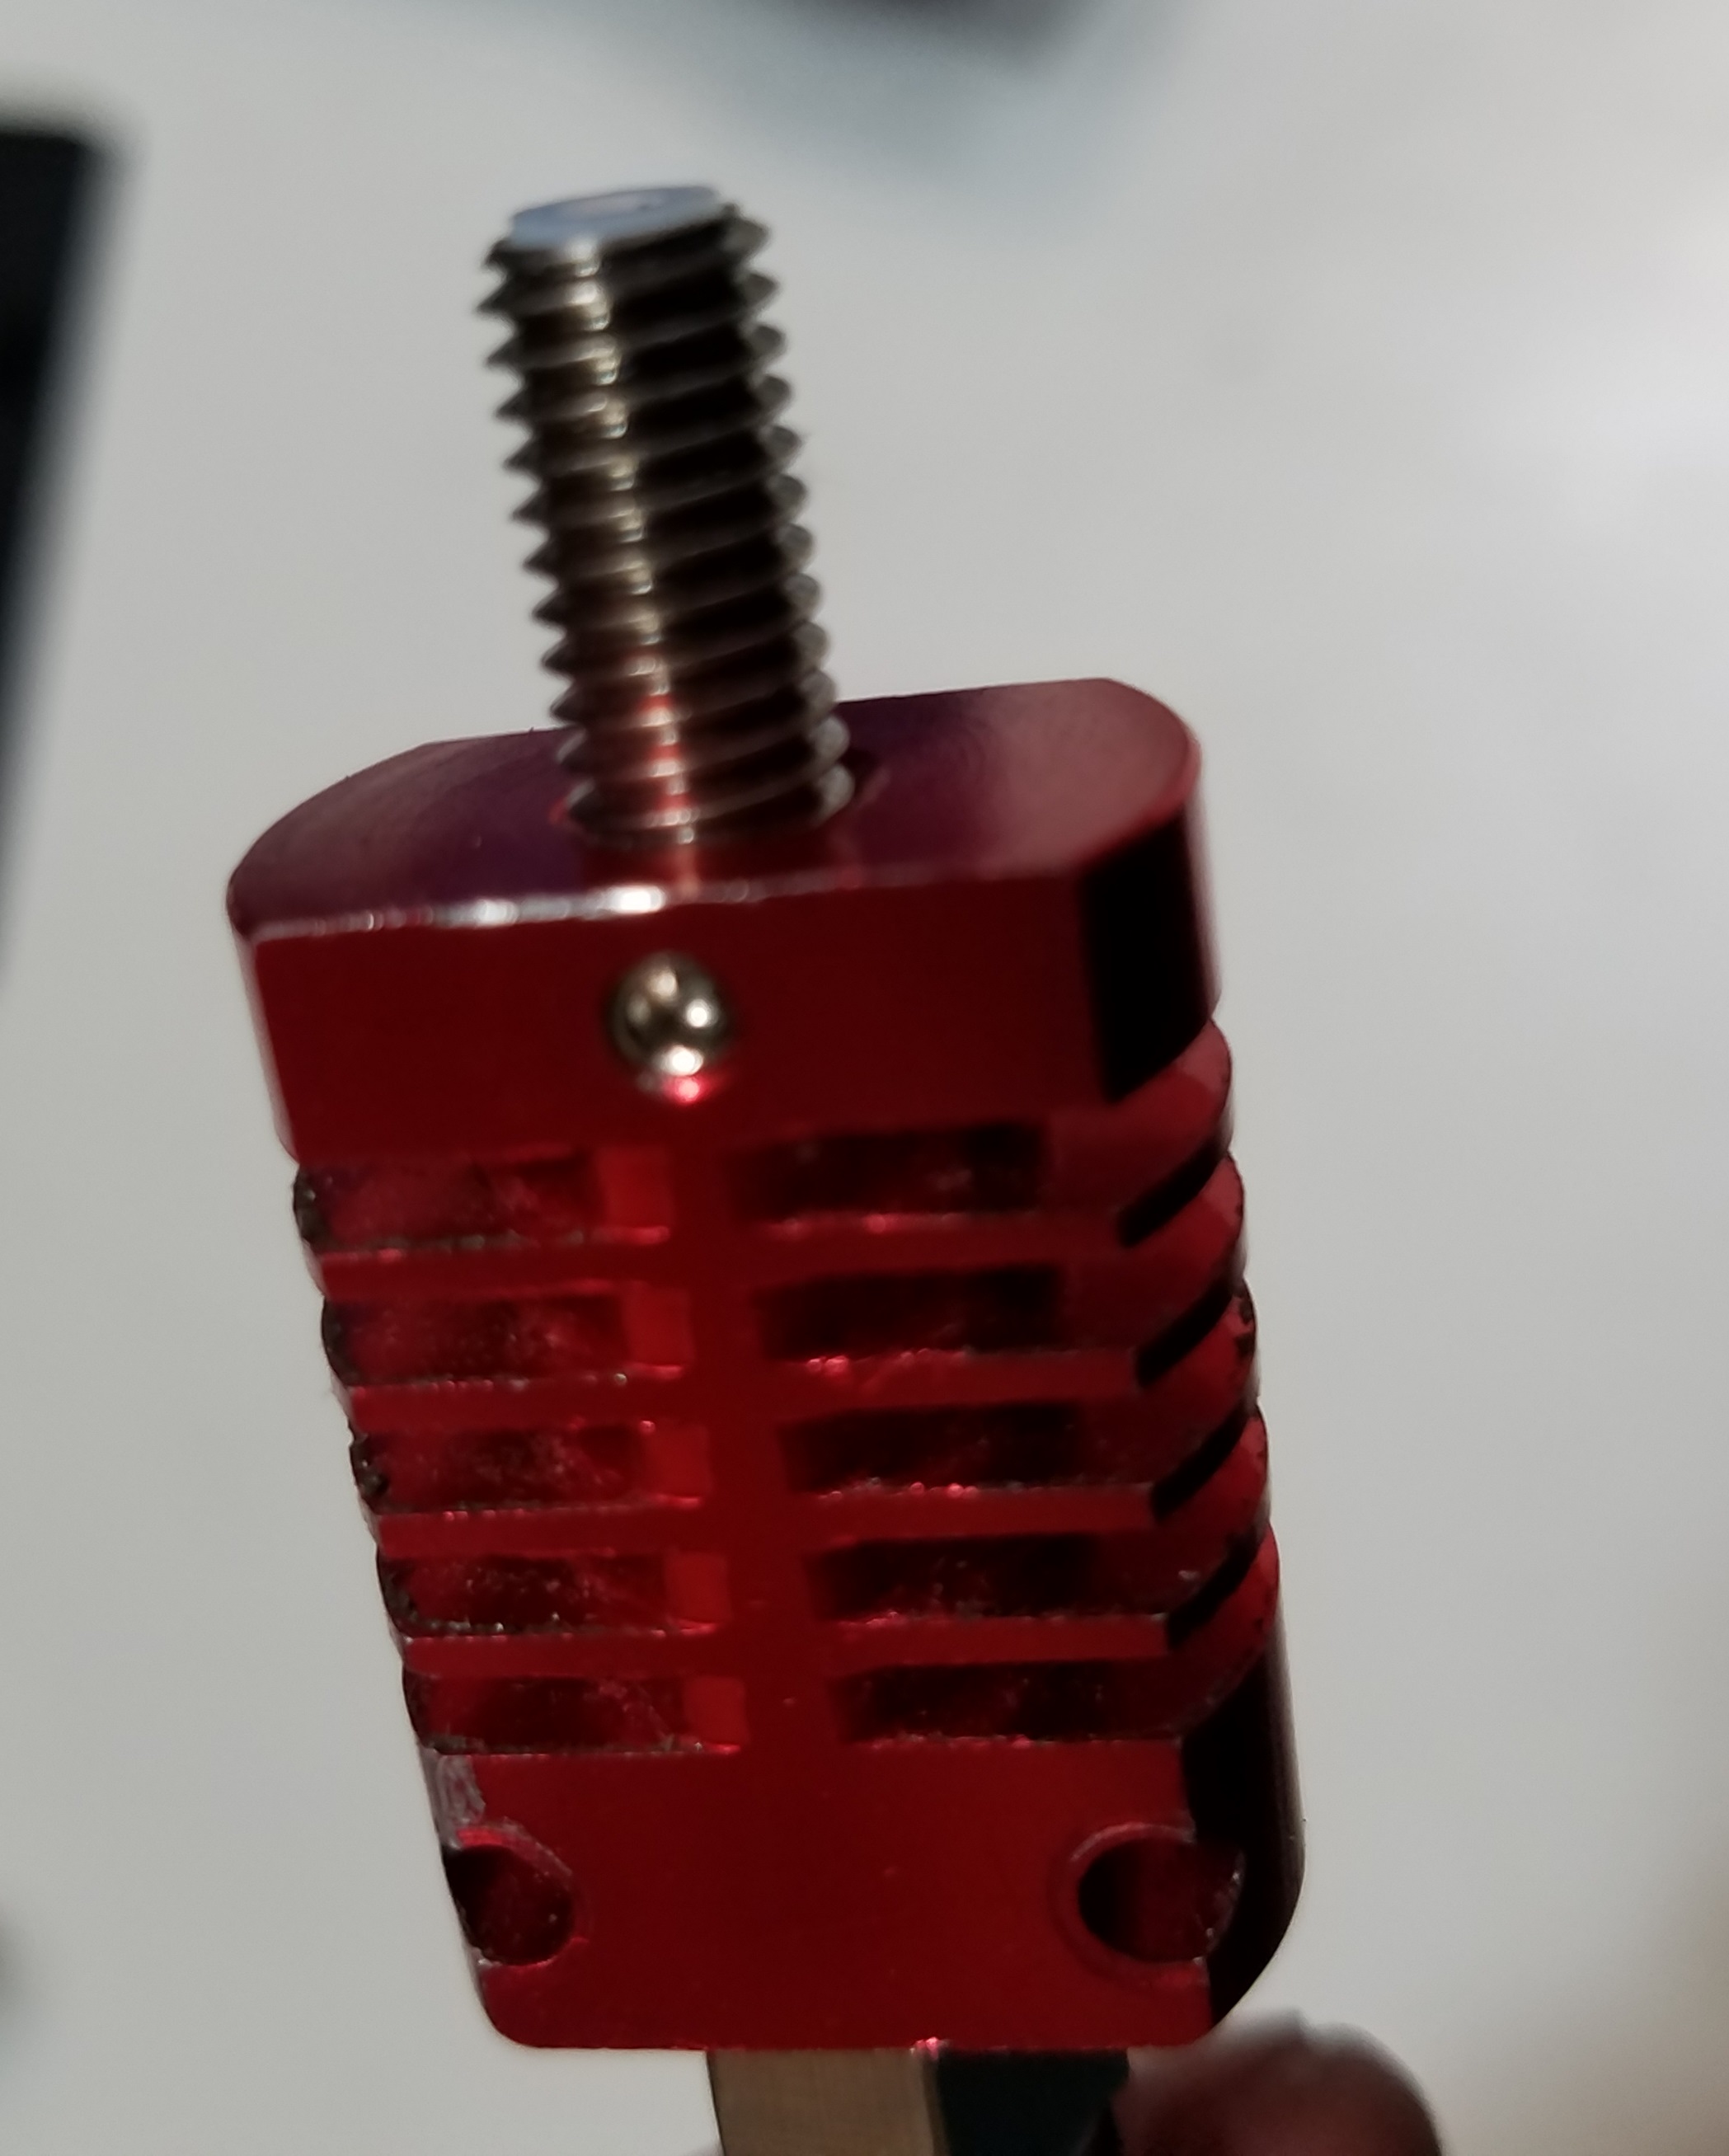
One of the common issues with this hotend is the throat might have a small bur or something keeping the Bowden tube from being able to slide through the throat like it should so you need to check and make sure the Bowden tube passes completely through it smoothly.


Once you can get the Bowden tube to pass through the throat like the picture above that should fix the main issue I see.
Now place the pneumatic fitting in the coldend.


Then screw the throat all the way in to the coldend until it stops (hits the pneumatic fitting). At this point you can tighten down the set screw if you would like but I normally do not.

Next trim the end of the Bowden tube to make sure it’s flat and straight. For this I use the Bowden tube cutter I designed but it can be done with a razor so long as the cut is straight.

Now push the Bowden tube into the end of the pneumatic fitting and through the throat until it sticks out a tiny bit.

Screw the nozzle into the heater block so that there is a small gap between the shoulder on the nozzle and the heat block.

Then screw the heat block onto the throat until it is snug but square with the coldend.

Once there tighten the nozzle down until everything is very snug. This will tighten the nozzle down tight on the throat and Bowden tube preventing any leaks.
There is another way to do this and that is to assemble the hotend assembly the same except you can leave the bowden tube out until after the nozzle is tight.

Then take the Bowden tube and place it over the hotend assembly and mark about where ther Bowden tube should be inserted up to.

This will allow you to ensure that when the Bowden tube is installed it is in fact all the way down and did not catch on anything. If you do it this way make sure to pull back on the lock part of the pneumatic fitting to remove any slack it might give as well.
This will give you a hotend assembly that will not leak and will eliminate the issues I have been seeing.

About the author
Related Posts
Comments 4

Nice break-down of the X5S hot end.
There are many comments and complaints that the stock Extruder Nozzle cooling duct cools the heat block too much. I found it was easy to adjust the fan housing so the bottom of the heat block is flush with the bottom of the main fan housing. This keeps the fan outlet blowing on the nozzle and not the side of the heat block placing the nozzle cooling duct outlet in exactly the right place (blowing on just the nozzle and NOT the heat block). A strip of Kapton tape across the gap in the fan housing and heat block finishes the job. I have a nice photo showing this but couldn't find a way to upload it .